
Dockering with CAS - Part 1

I've been working with and learning about SingleSignOn (aka SSO) for the past several months, specifically within a highly customized CAS SSO environment.
To supplement my on-the-job training I naturally wanted to setup my very own CAS SSO infrastructure in a virtual lab. This post is a distilled version of that process from the perspective of someone who'd never worked with SSO, Java, Spring, Tomcat, or Docker containers in any meaningful way. Do not be surprised if you find yourself laughing, crying, or questioning my sanity. You're not alone.
For starters, I'm a longtime user of VirtualBox. I've messed with other Hypervisors, but it fails to disappoint me. For THIS particular journey I put a premium on keeping my infrastructure as simple and familiar as possible to avoid cross-contaminating with all the other technology I knew was going to be kicking my butt trying to learn. I would suggest this same tactic to anyone learning new tech. Use a test bed you a familiar with and don't be swayed by whatever tutorial you're reading to use something new...including mine.
On my VBox server I configured two primary Linux virtual machines; one for CAS, one for the app I was trying to secure. If you need help setting up VMs in VBox, the internet if full of them. I will tell you this, if you are planning to engage your VMs from your LAN, make sure you bridge the network adapter.
VM1 - CentOS 7 with git, java-11, docker-ce installed
VM2 - CentOS 8 with Apache2.4+ installed
Critical Note: Modern CAS versions (v6+) are based on the Spring framework. I had no idea what this meant when I started and am still learning a LOT about Spring, but it's critical to have your Java11 environment setup before starting on whatever machine you are building CAS. The Docker container we'll end up using is built from the framework you'll pull down and requires all the Java juice. If you don't know what any of this means, go ahead and brew some java for yourself before getting started. It's going to be a long night!
CAS Setup
From your soon-to-be CAS box, run the following command to pull a base image of the latest CAS git repo and build it.
git clone https://github.com/apereo/mod_auth_cas.git
cd mod_auth_cas
chmod +x *.sh
./docker-build.sh
You might run into some issues with this and I can only recommend you validate your Java environment as much of my issues seemed to arise from this.
Note: The 'copy' functions of this script are NOT copying folders from ./etc/ to /etc of your VM, but the /etc/ of the Docker image. This took me a LONG time to figure out as I began this journey configuring the Spring webapp WAR outside Docker...it didn't end well.
Next your are going to want to run the docker...though it will likely fail, but try anyway!
./docker-run.sh
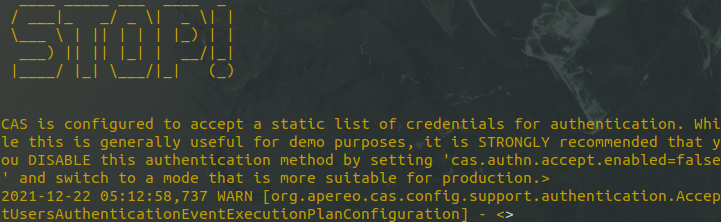
You'll probably see some errors about security for two reasons. The most verbose error is probably because you're running with local credentials, like shown below:
The other reason is probably because you're missing your keystore...a step I'd found in older CAS tutorials but not in new documentation. It appears to be required, so let's put one together now.
cd etc/cas/
If you already have a TLS certificate you wanted to use for this CAS PoC, kudos to you! Do the following to create a key store for it:
openssl pkcs12 -export -in sso.warybyte.com.crt -inkey /etc/pki/tls/private/sso.warybyte.com.key -out sso.warybyte.com.p12
If you DON'T have a signed TLS certificate for your CAS instance, get one. LetsEncrypt is what I use for all my cert needs, but use whatever service you prefer. Using an unsigned will work, but do that and face all the nasty browser issues like I did?
...You're going the self-signed route, aren't you... Ok, ok, do this.
keytool -genkey -keyalg RSA -alias thekeystore -keystore thekeystore -storepass changeit -validity 360 -keysize 2048
Alright, now that you got the key straightened out, you need to import into your Java keystore so the Spring framework can apply to your webapp when you rebuild it.
sudo keytool -importkeystore -srckeystore thekeystore -destkeystore "/usr/lib/jvm/java-11-openjdk-11.0.13.0.8-3.el8_5.x86_64/lib/security/cacerts"
OR (for those of you who might have cut their own signed cert)
sudo keytool -importkeystore -srckeystore sso.warybyte.com.p12 -srcstoretype pkcs12 -destkeystore "/usr/lib/jvm/java-11-openjdk-11.0.13.0.8-3.el8_5.x86_64/lib/security/cacerts"[sudo] password for user:
...
Importing keystore sso.warybyte.com.p12 to /usr/lib/jv...
...
Enter destination keystore password:
Enter source keystore password:
...
Entry for alias 1 successfully imported.Import command completed:
1 entries successfully imported, 0 entries failed or cancelled
Any errors or mistakes? Maybe you want to go back and re-import that signed cert? You can modify keys in the keystore. Below is an example of me changing my alias.
sudo keytool -changealias -alias "oldalias" -destalias "thekeystore" -cacerts
Now that you have the cert in place, your going to try to re-run you Docker.run script, right? Wrong! It will fail. Remember when I mentioned you'd need to rebuild? The docker container you built earlier has no idea about your shiny new cert, so you need to rebuild in order to introduce the two. Do that now.
./docker-build.sh; ./docker-run.sh
Open a browser and search for your hostname.
https://<yourhostname>:8443/cas
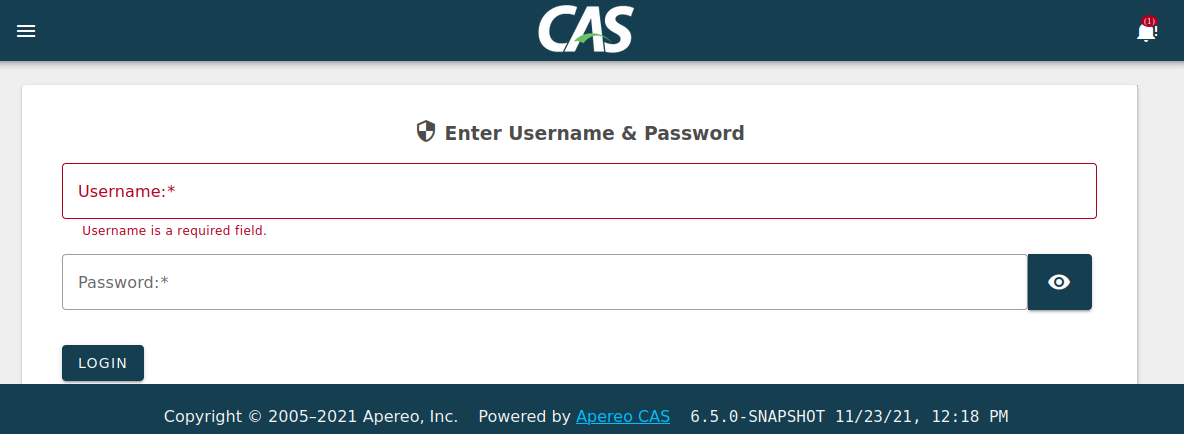
If you are welcomed by the CAS login screen, woooh for you! You are now running a CAS webapp inside Docker! Want to see inside? Those of you know understand Docker better will know this already, but I had to learn the hard way how to console into containers.
docker run -it --entrypoint /bin/sh {containerid}
Or, if it's already running, try this
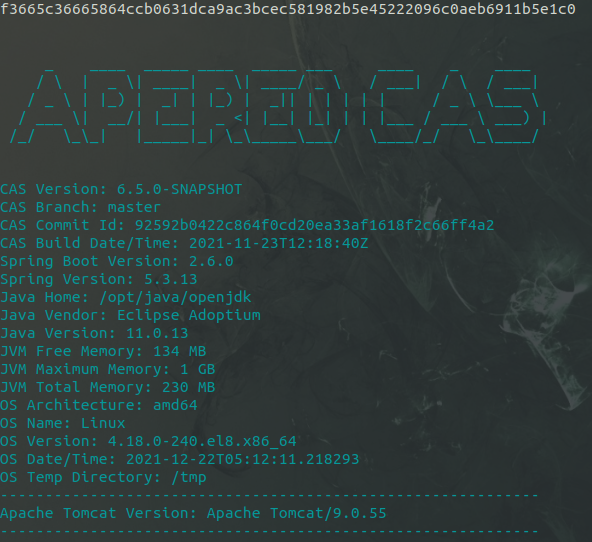
[sso ~]$ docker exec -it f3665c366658 /bin/sh
/cas-overlay # uname -a
Linux f3665c366658 4.18.0-240.el8.x86_64 #1 SMP Fri Sep 25 19:48:47 UTC 2020 x86_64 Linux
These actually took me a while to figure out because nearly every Docker tutorial I found kept referencing '/bin/bash', which caused the command to fail. Later I found buried in Spring documentation that the Alpine image used for CAS uses /bin/sh, which allowed me the internal access I wanted.
Now that you have CAS running, you want to make it so that you can connect apps to it...but that's for next time. For now, lets stick with what we have. The default password for CAS itself is well documented:
Username: casuser
Password: Mellon
This will allow you to authenticate to the generic CAS page, but it will ALSO authenticate you to any webapps you point at your CAS rig unless you setup other authentication.
In my next CAS posting I'll go into how I added implementations to CAS as well as configured my web server to SSO with CAS.
Cheers!
REFERENCES
https://spring.io/guides/topicals/spring-boot-docker/
https://www.baeldung.com/spring-security-cas-sso
 apereo