
Dockering with CAS - Part 2
Part 2 of building and configuring CAS docker containers
Introduction
This begins Part 2 of my CAS dockering experience. This is where we actually configure my CAS to be half way useful in a lab environment, information which was too specific for the general setup of Part 1.
In keeping with my enterprise grade lab I'm building, I wanted to configure LDAP authentication, MFA, as well as JSON servicing for each Service Provider (SP) within my lab. Since Apereo builds CAS as a framework, you only have the bare minimum for it to run, therefore every feature you want must be added manually. Apereo documentation makes it clear you should start small, adding and configuring each new feature one at a time before attempting to build, so that's how I'm going to approach this blog. Let's start with LDAP.
LDAP Implementation
To add LDAP authentication functionality to CAS, you have to obviously have some LDAP source to query. I'm not an LDAP expert so this was a trick to get running on the fly, but let's pretend we already have something set up we can bind to without getting into THOSE details. Go ahead and add the LDAP feature set in your CAS build.gradle file in the form of an implementation.
vi <path>/<to>/<your>/<cas>/build.gradle
Here is an example of what your implementations might look like:
implementation "org.apereo.cas:cas-server-core-api-configuration-model"
implementation "org.apereo.cas:cas-server-webapp-init"
implementation "org.apereo.cas:cas-server-support-json-service-registry"
implementation "org.apereo.cas:cas-server-support-saml-idp"
implementation "org.apereo.cas:cas-server-support-ldap"
Now switch over to your cas.configuration file (etc/cas/config/...) and set the following entries at minimum.
cas.authn.ldap[0].ldap-url: ldap://[YOURLDAPSERVER]:[YOURLDAPPORT]
cas.authn.ldap[0].useStartTls: false
cas.authn.ldap[0].base-dn: ou=CASUsers,dc=warybyte,dc=com
cas.authn.ldap[0].bind-credential: [BINDERPASSWORD]
cas.authn.ldap[0].bind-dn: cn=[YOURBINDER],ou=CASUsers,dc=warybyte,dc=com
cas.authn.ldap[0].bind-dn: [YOURBINDER]
cas.authn.ldap[0].type: AUTHENTICATED
cas.authn.ldap[0].connectTimeout: 5000
cas.authn.ldap[0].search-filter: cn={0}
cas.authn.ldap[0].subtreeSearch: true
cas.authn.ldap[0].principal-attribute-list: sAMAccountName,cn,givenName,mail,sn,memberOf,distinguishedName
Oh, remember that ugly startup warning CAS gave when it fired up for the first time? The one related to local user account logins? You can go ahead and fix that here as well so that you'll only be authenticating with LDAP.
cas.authn.accept.enabled=false
Once you finish your config changes, you should be able to guess what comes next...Rebuild and Rerun! Once your container comes back, try to login. If all goes well, you should be get good authentication (see logs). Follow these same general steps for any other implementations and functionality you want to add, like MFA, SAML, JSON, etc.
VM2 Setup
On VM2 we want to configure some service provider (SP) to point at CAS. Set up your SP how you want to. I use Apache web server because I'm used to it and CAS has a module for it called Mod_Auth_CAS that's easy to configure. Your milage may very here. The setup for ModAuthCAS is pretty straight forward, though the way I do it you'll need the JSON implementation built into your CAS instance. See above example on adding those. You'll want to also create a [CASDOWNLOAD]/etc/cas/services directory in your CAS build directory. I'll show you what to put in there after we setup the SP.
ModAuthCAS Configs
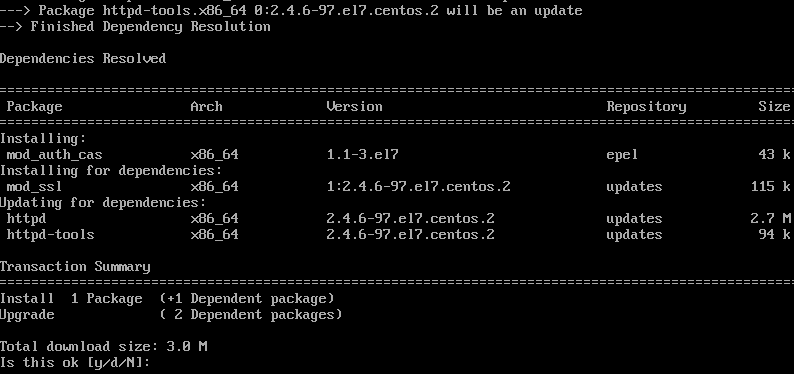
On your SP server install mod_auth_cas. You can use a package manager or build from source. I've done both without much difficulty. EPEL is your friend on Redhat.
Once you have it installed and enabled mod_auth_cas, you'll want to set the following perameters at a minimum in your vhosts/conf files, substituting in your environment variables.
CASCookiePath /var/cache/httpd/
CASLoginURL https://sso.warybyte.com:8443/cas/login
CASValidateURL https://sso.warybyte.com:8443/cas/serviceValidate
...
[Location /test/]
	AuthType CAS
	Require valid-user
[/Location]
"
More CAS Configs...
Assuming all the pieces are working together, browsing to your webapps /test/ page should redirect you to CAS. However you need CAS to understand what to do with this redirect, which is where the JSON implementation comes in. Without it, you'll see something like this:
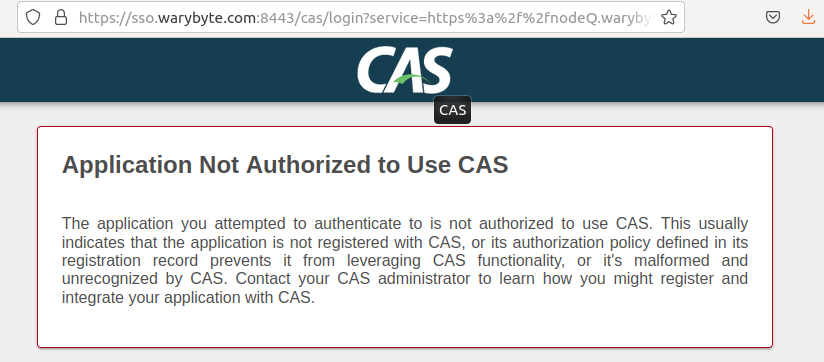
CAS allows you build service profiles in standard JSON formatted files stored on your CAS server. Your next step once you have a SP configured is to build one of these profiles in your <CAS_DOWNLOAD>/etc/cas/services directory. Below is a very basic example:
vi <CAS_DOWNLOAD>/etc/cas/services/test-100.json
{
"@class" : "org.apereo.cas.services.RegexRegisteredService",
"serviceId" : "https://test.warybyte.com/test/*",
"name" : "casSecuredApp",
"id" : 100,
"description" : "Apache ModAuthCAS Example"
}
Do you remember what to do next? Rebuild and rerun! This will package your newly minted service profile and it's related implementations into the docker container. If you watch the scroll carefully you'll probably see some of these steps happening.

Retry your 'test' page. Do you get redirected to CAS? Do you actually get a login prompt? Are you able to log in successfully with your LDAP credentials! Congratualations! Easy, peasy, right?
Final words...
If you've made it this far in my little mini-series, I very much appreciate your investment! CAS is a beast to wrangle, not because it's bad, but because of how much it can be customized. There is much more to be learned and configured beyond what we've covered, however my hope is that this detailed (and hopefully humourous) walk through will get you heading in the right direction from zero.
Take a look at Apereo's documentation. My previous post also points to a few other resources which are up to date and show some of the other trickery you can do with CAS. It only gets more complicated from here.
Cheers!