
What you learn when testing fails...
The internet is full of sites dedicated to educating the public. This is especially true in the technology sector where bloggers and researchers spend hours crafting clean and clever projects to share with the community in hopes others can learn from their accomplishments. I've written (or tried to write) these kinds of articles in the past, but today is not one of those. Today I wanted to take a few moments to share what things look like when they fail.
Before I continue though, I want to make my intentions clear. Why am I spending time writing and why should you waste your time reading an article about something that failed? Because...
Failure happens. Period.
While that might sound depressing, what's more depressing is the pressure we (I) put on our ourselves to always be perfect...to the point that we stop asking questions or trying new things. To the contrary, I want to encourage other explorers by demonstrating what REALLY happens, more often then not I might add, so they are prepared and can overcome. To put it another way, knowledge gained through hardship sticks, often giving us the grit to keep going.
Now, to the project.
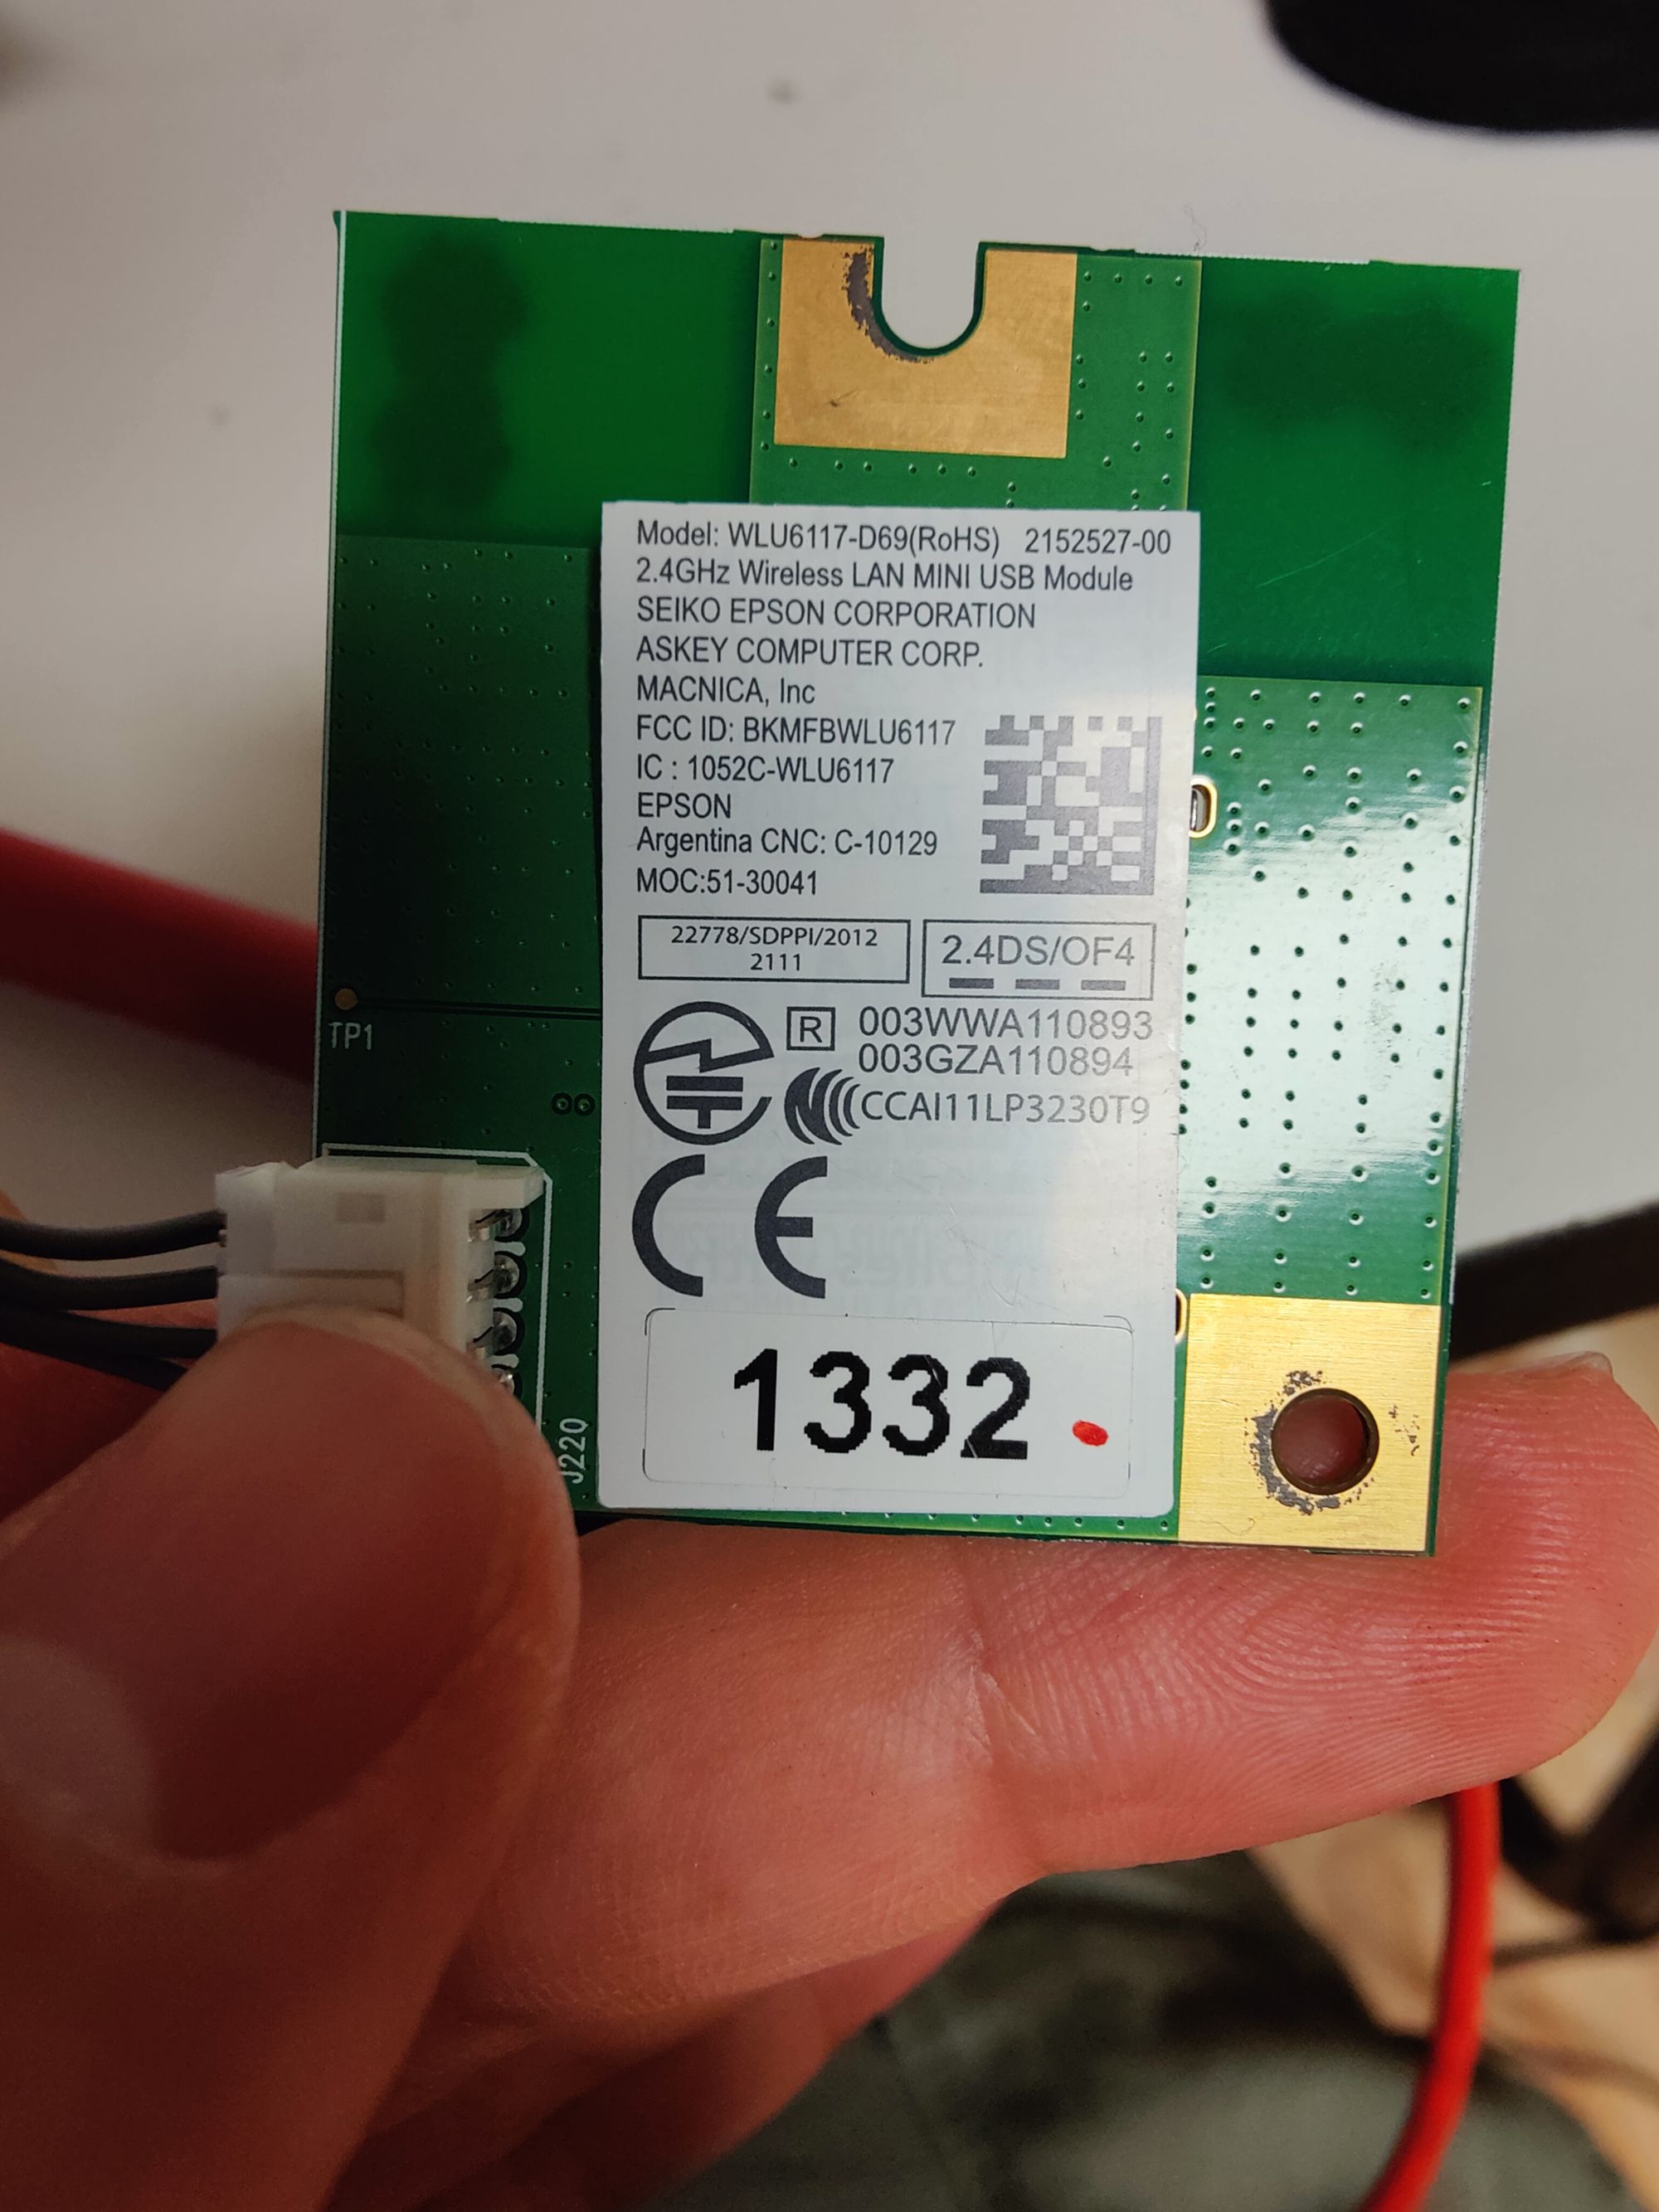
I'm a bit of a scrounger. I enjoy taking broken things apart to salvage components I might need one day. The other day I had a need for a WiFi card of some kind. Rummaging around in my boxes of scrap, I found a USB WiFi dongle I'd pulled out of an Epson printer a while back. I'd never used it before because it had a tiny 4 pin plug rather than a traditional USB port, being an embedded device, but I saw on the tiny print it was USB protocol so I figured one day I'd rewire it for something. To paraphrase the old hymn "This is the day that the Lord made. I will rejoice and hack in it!".
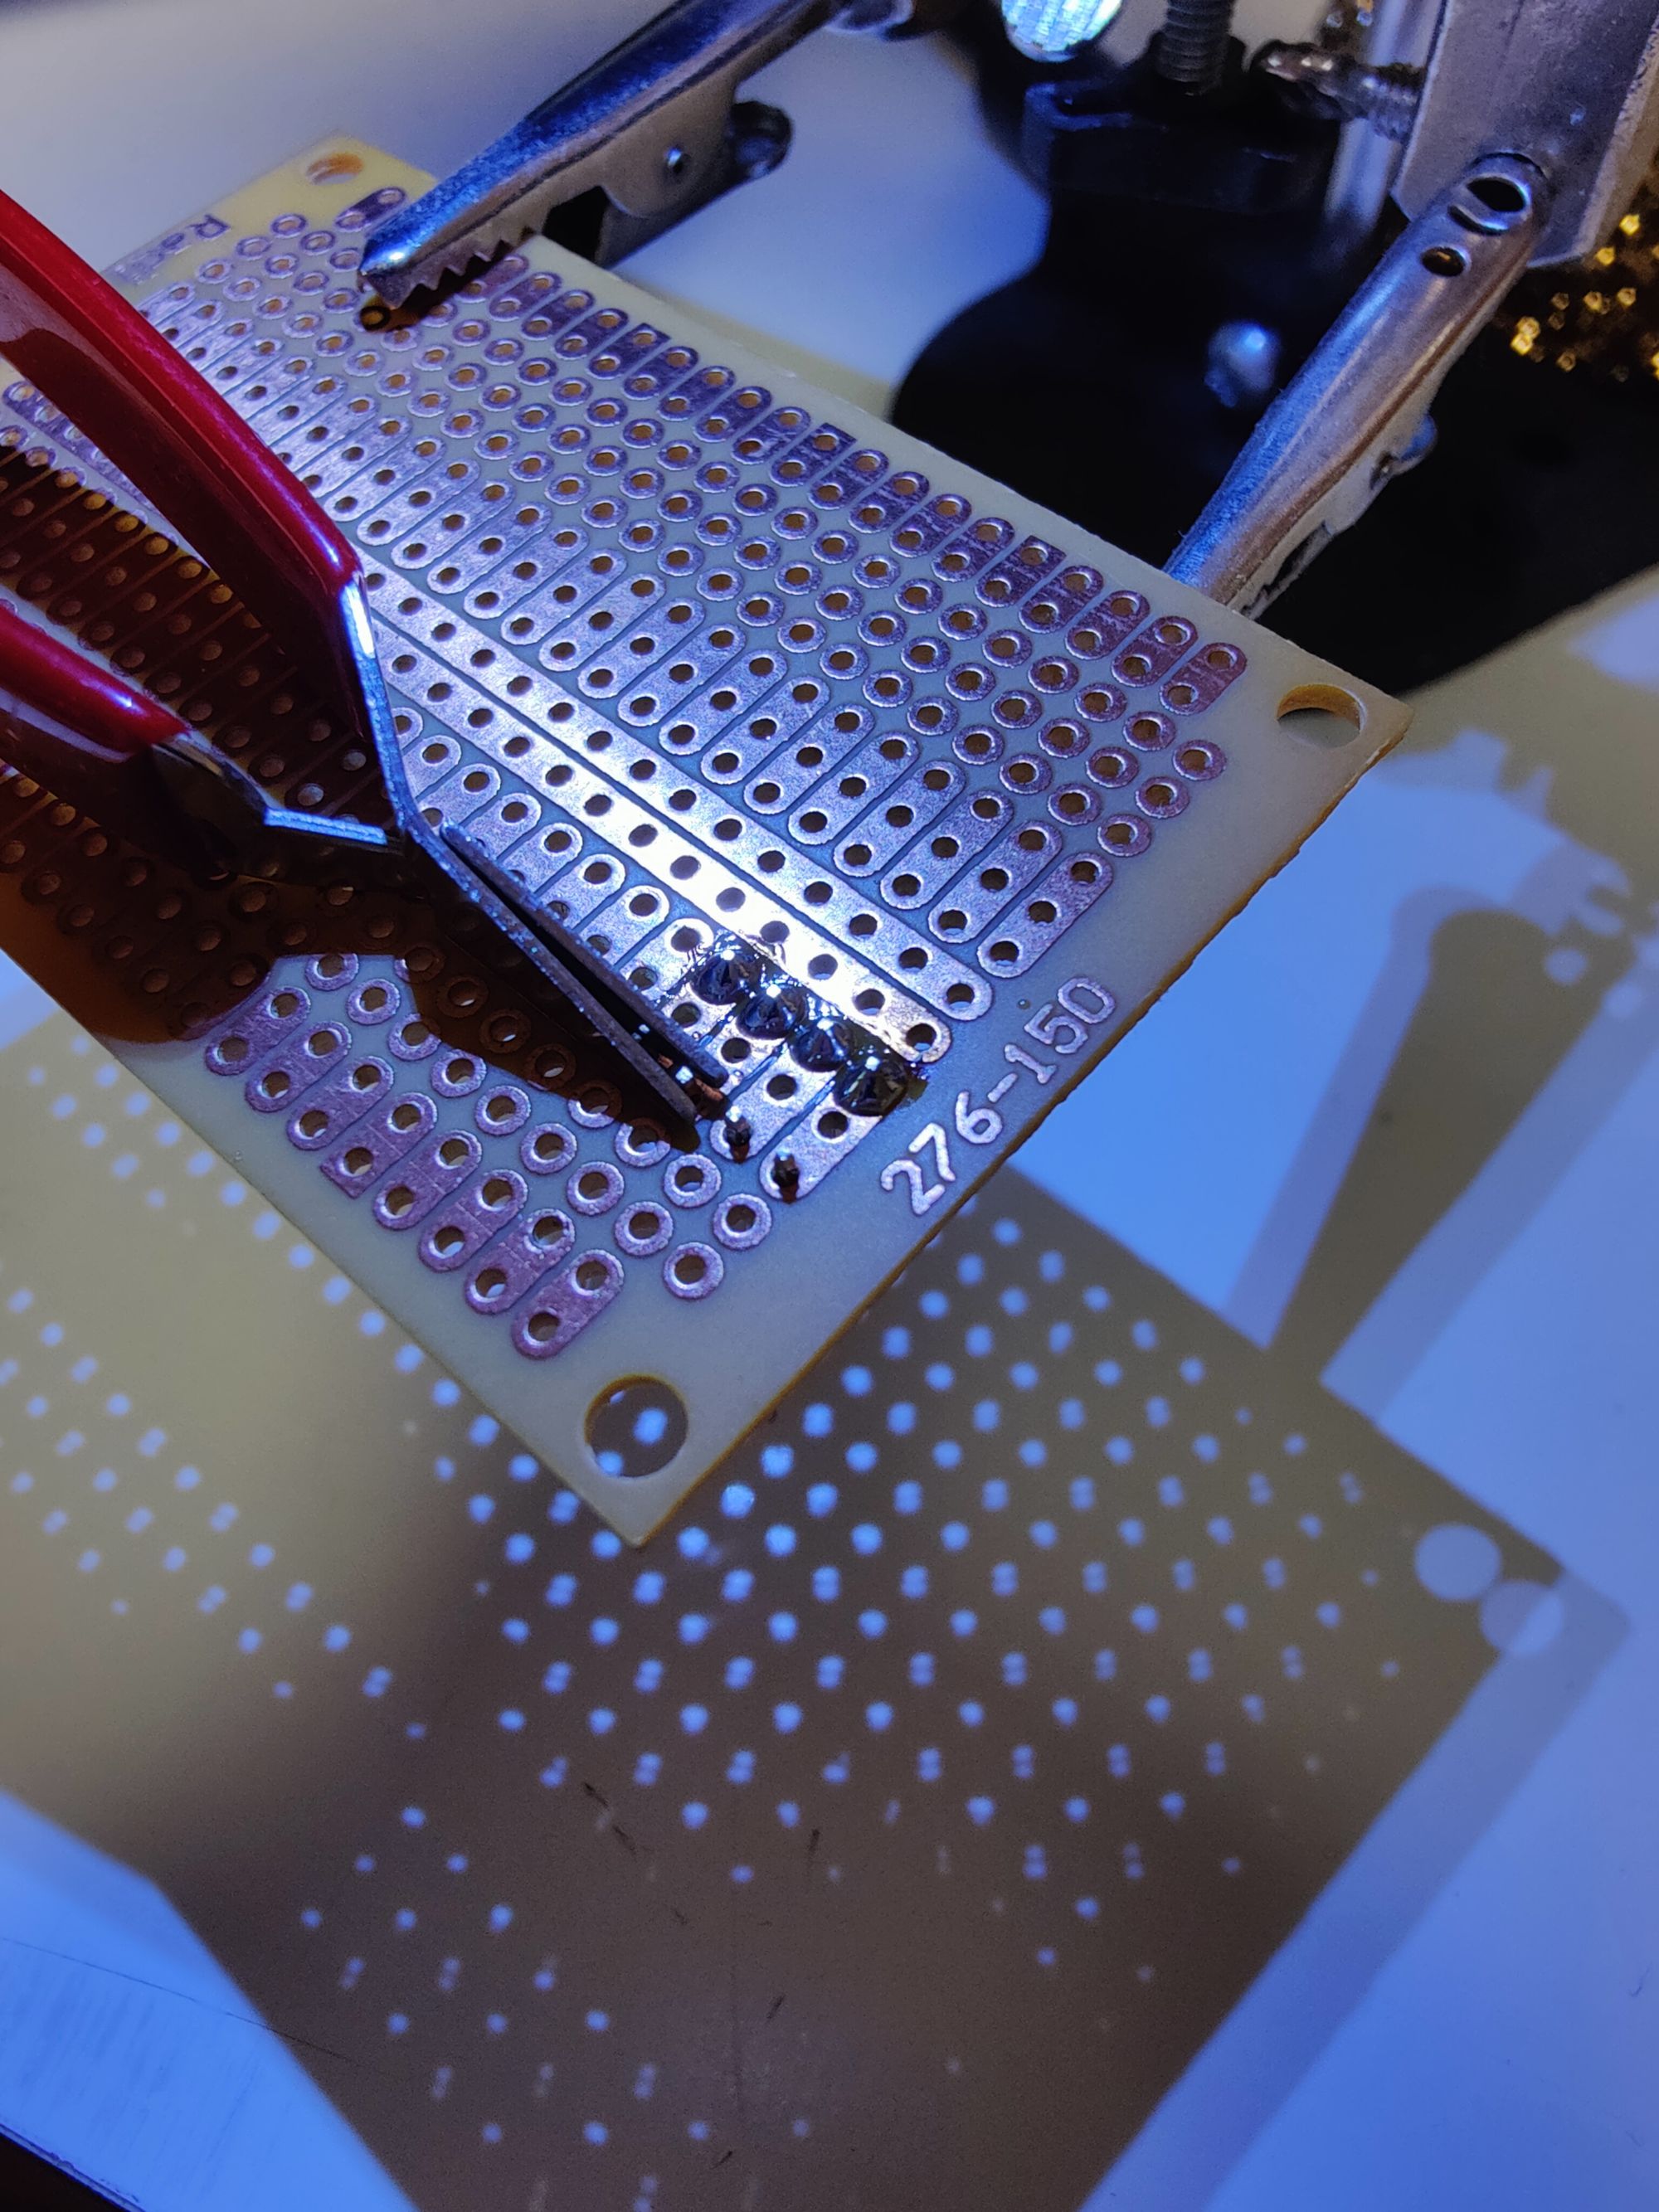
Here's a shot of the device I was working on
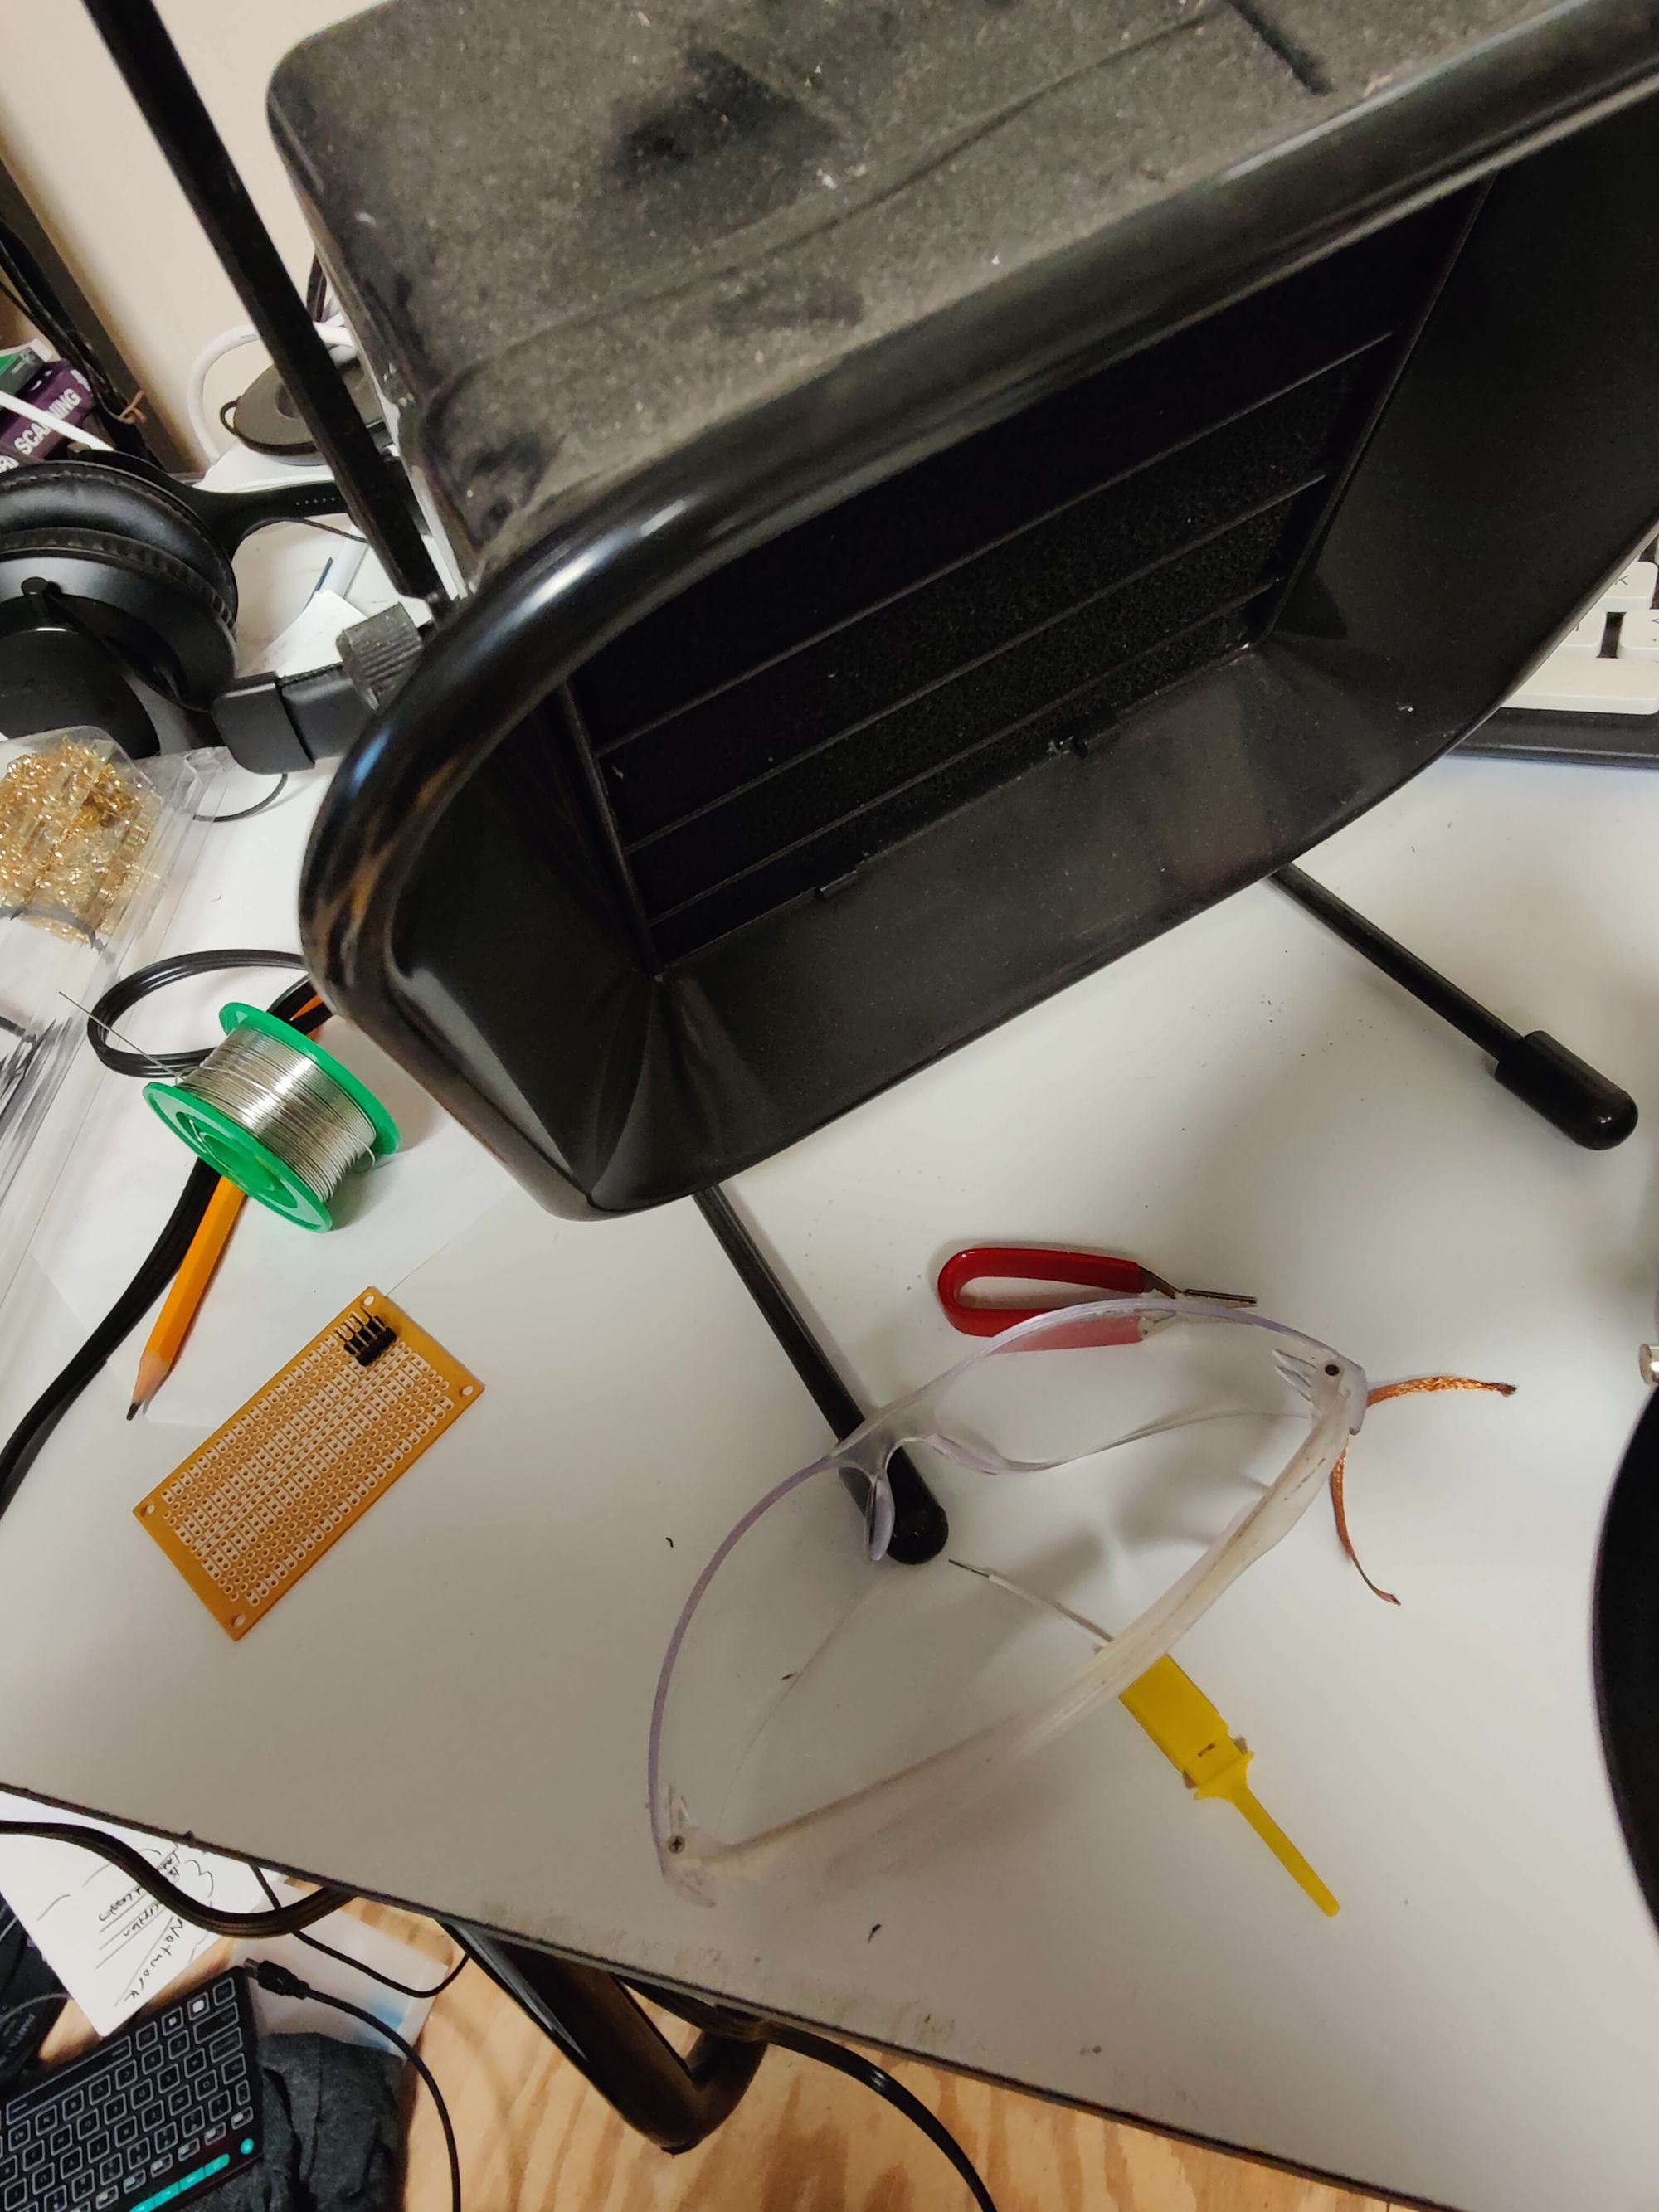
First, I had to build a jig to test if this thing would even talk to a regular computer. Since I knew I'd be soldering things, I made sure to bring out my PPE for eyes and lungs, pictured below.
Safety first, my friends!
Next, I cut one down a spare USB cable I had handy for a reliable breakout, along with some perf board, jumper wires, terminal probes, and header pins.
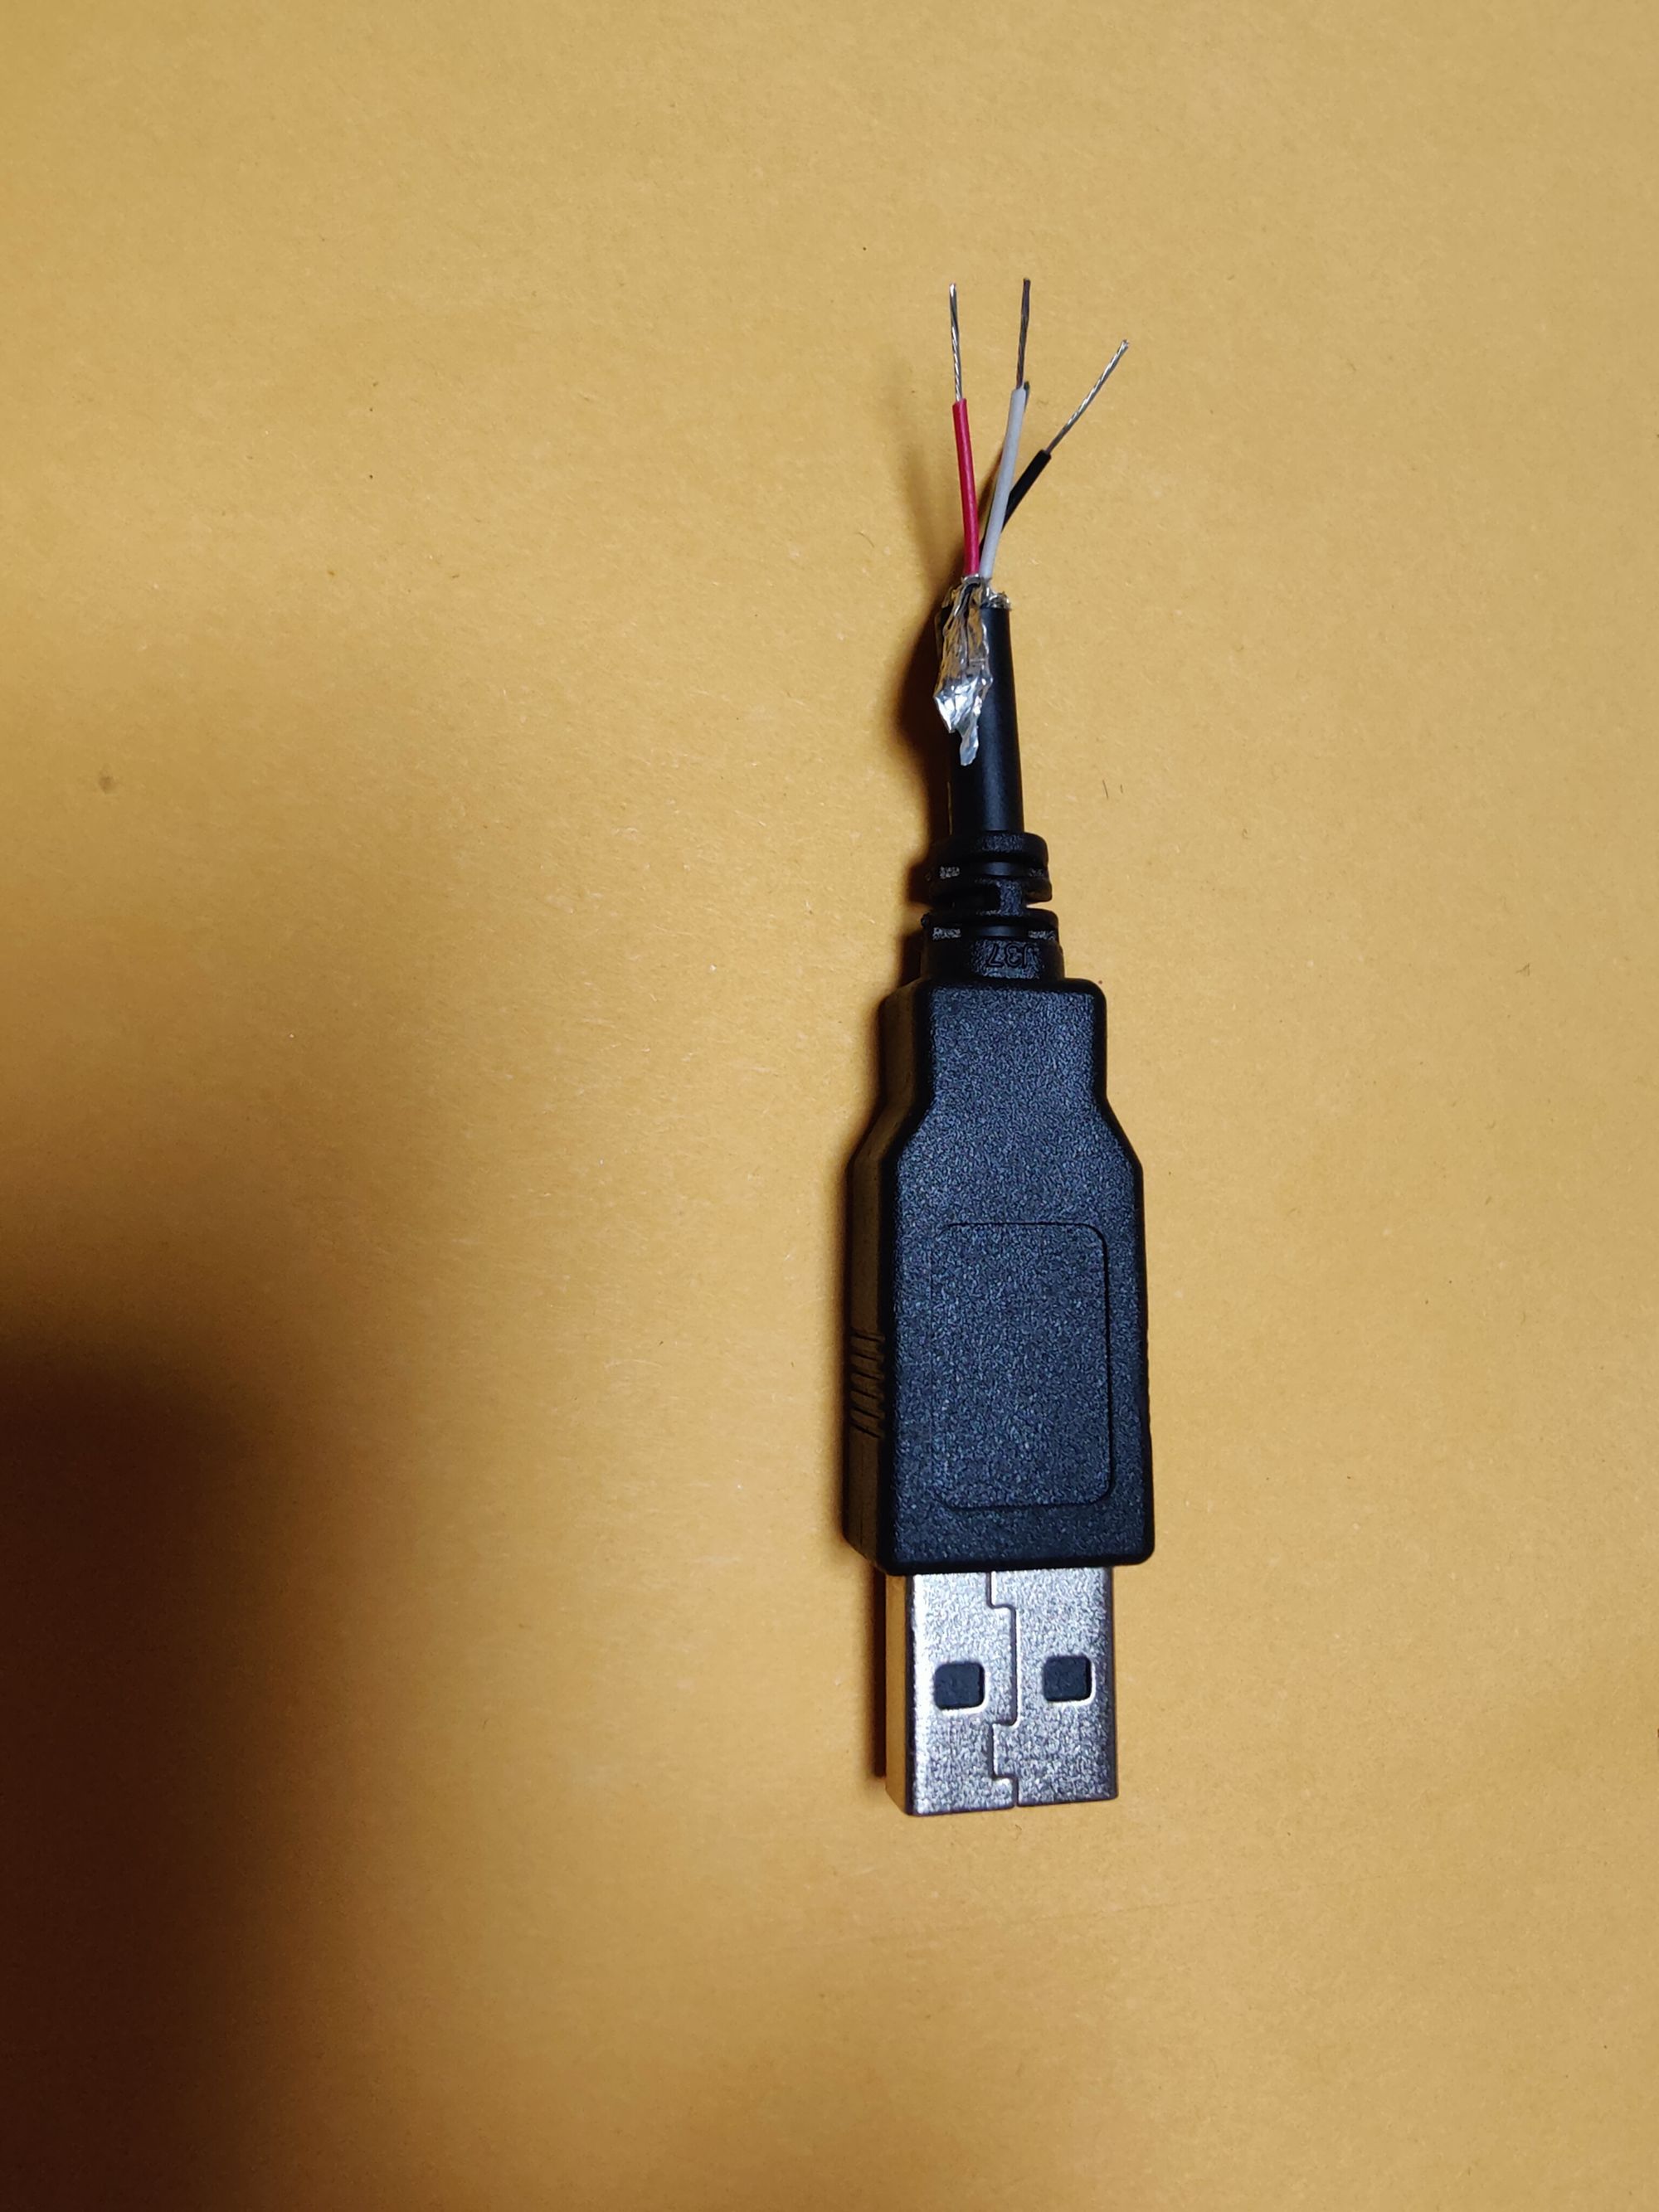
Starting with the USB connector side, I soldered each wire to a corresponding leader I could connect to the perf board headers. If I were smart, I would have slipped on the heat shrink tube BEFORE I soldered, but I'm not, so we end up with tape, followed by heat shrink to make it at least look like I know what I'm doing.
When my USB connector was ready I soldered on the header pins to my perf board, 4 pins on each side corresponding to USB standard, being sure the pad connected between each so I had a solid bus to traverse.
1. Power (red)
2. Data - (white)
3. Data + (green
4. Ground (black)
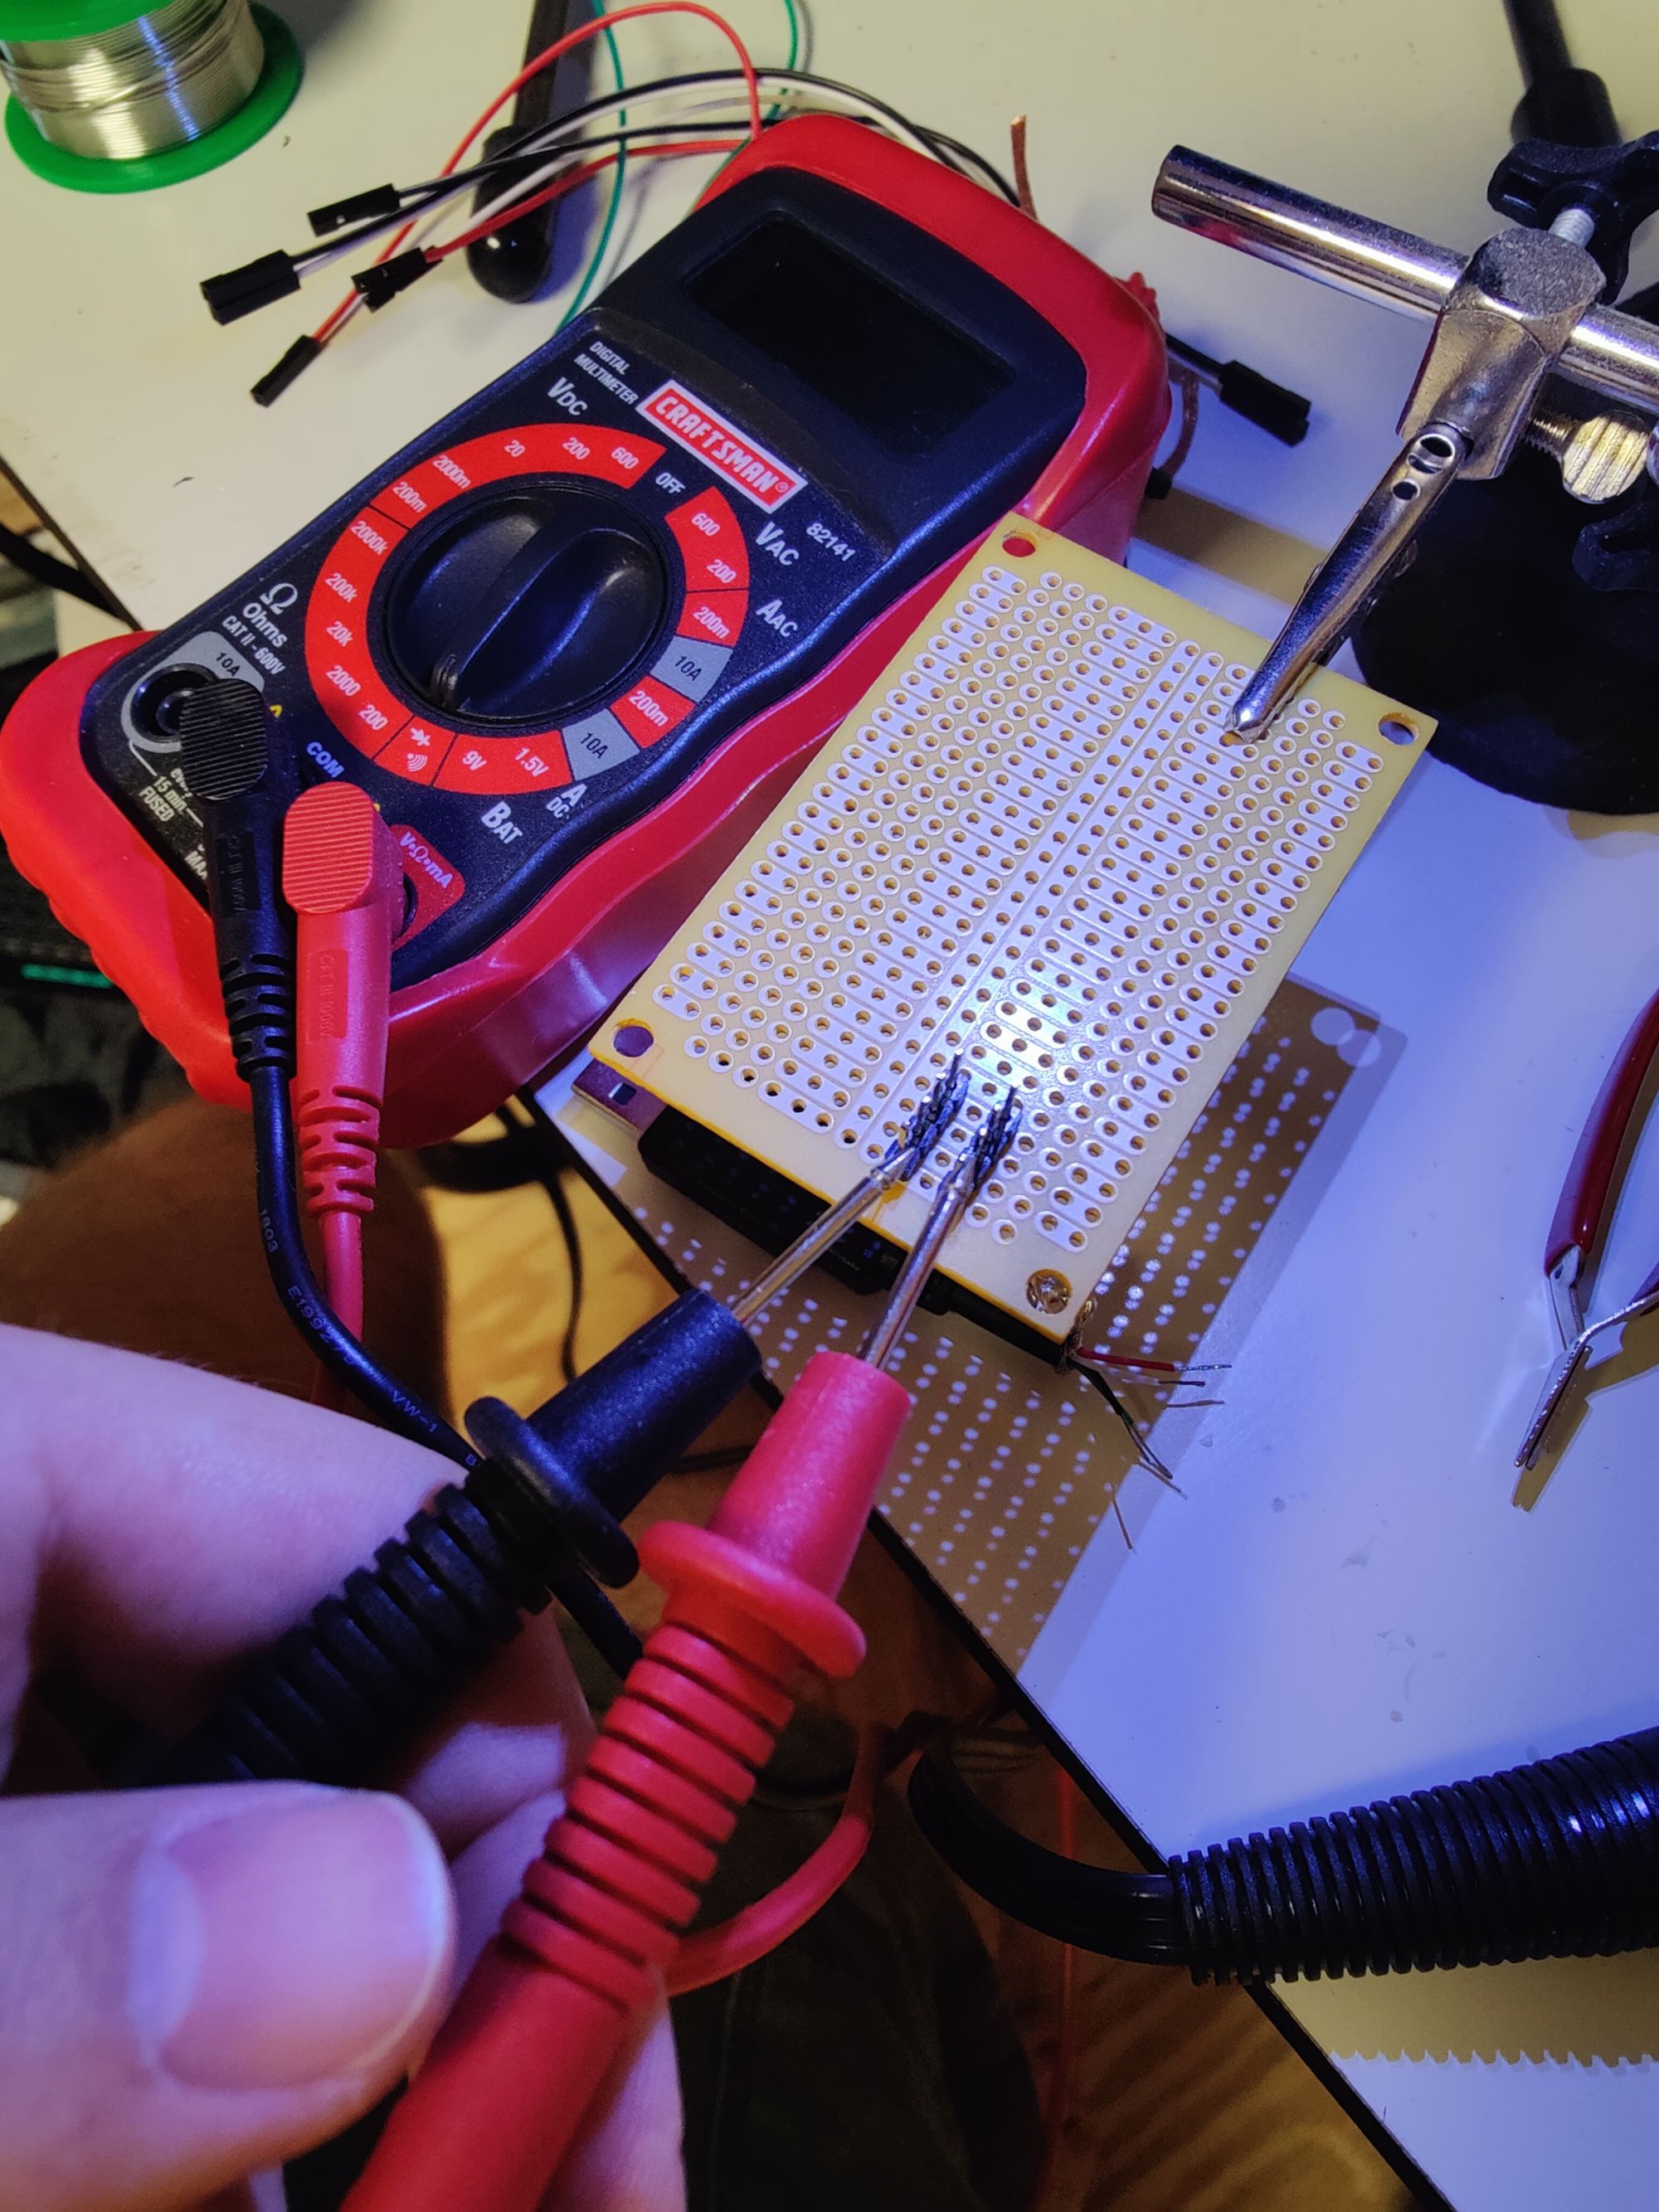
Continuity testing the ALMOST finished product...listen for the beep!
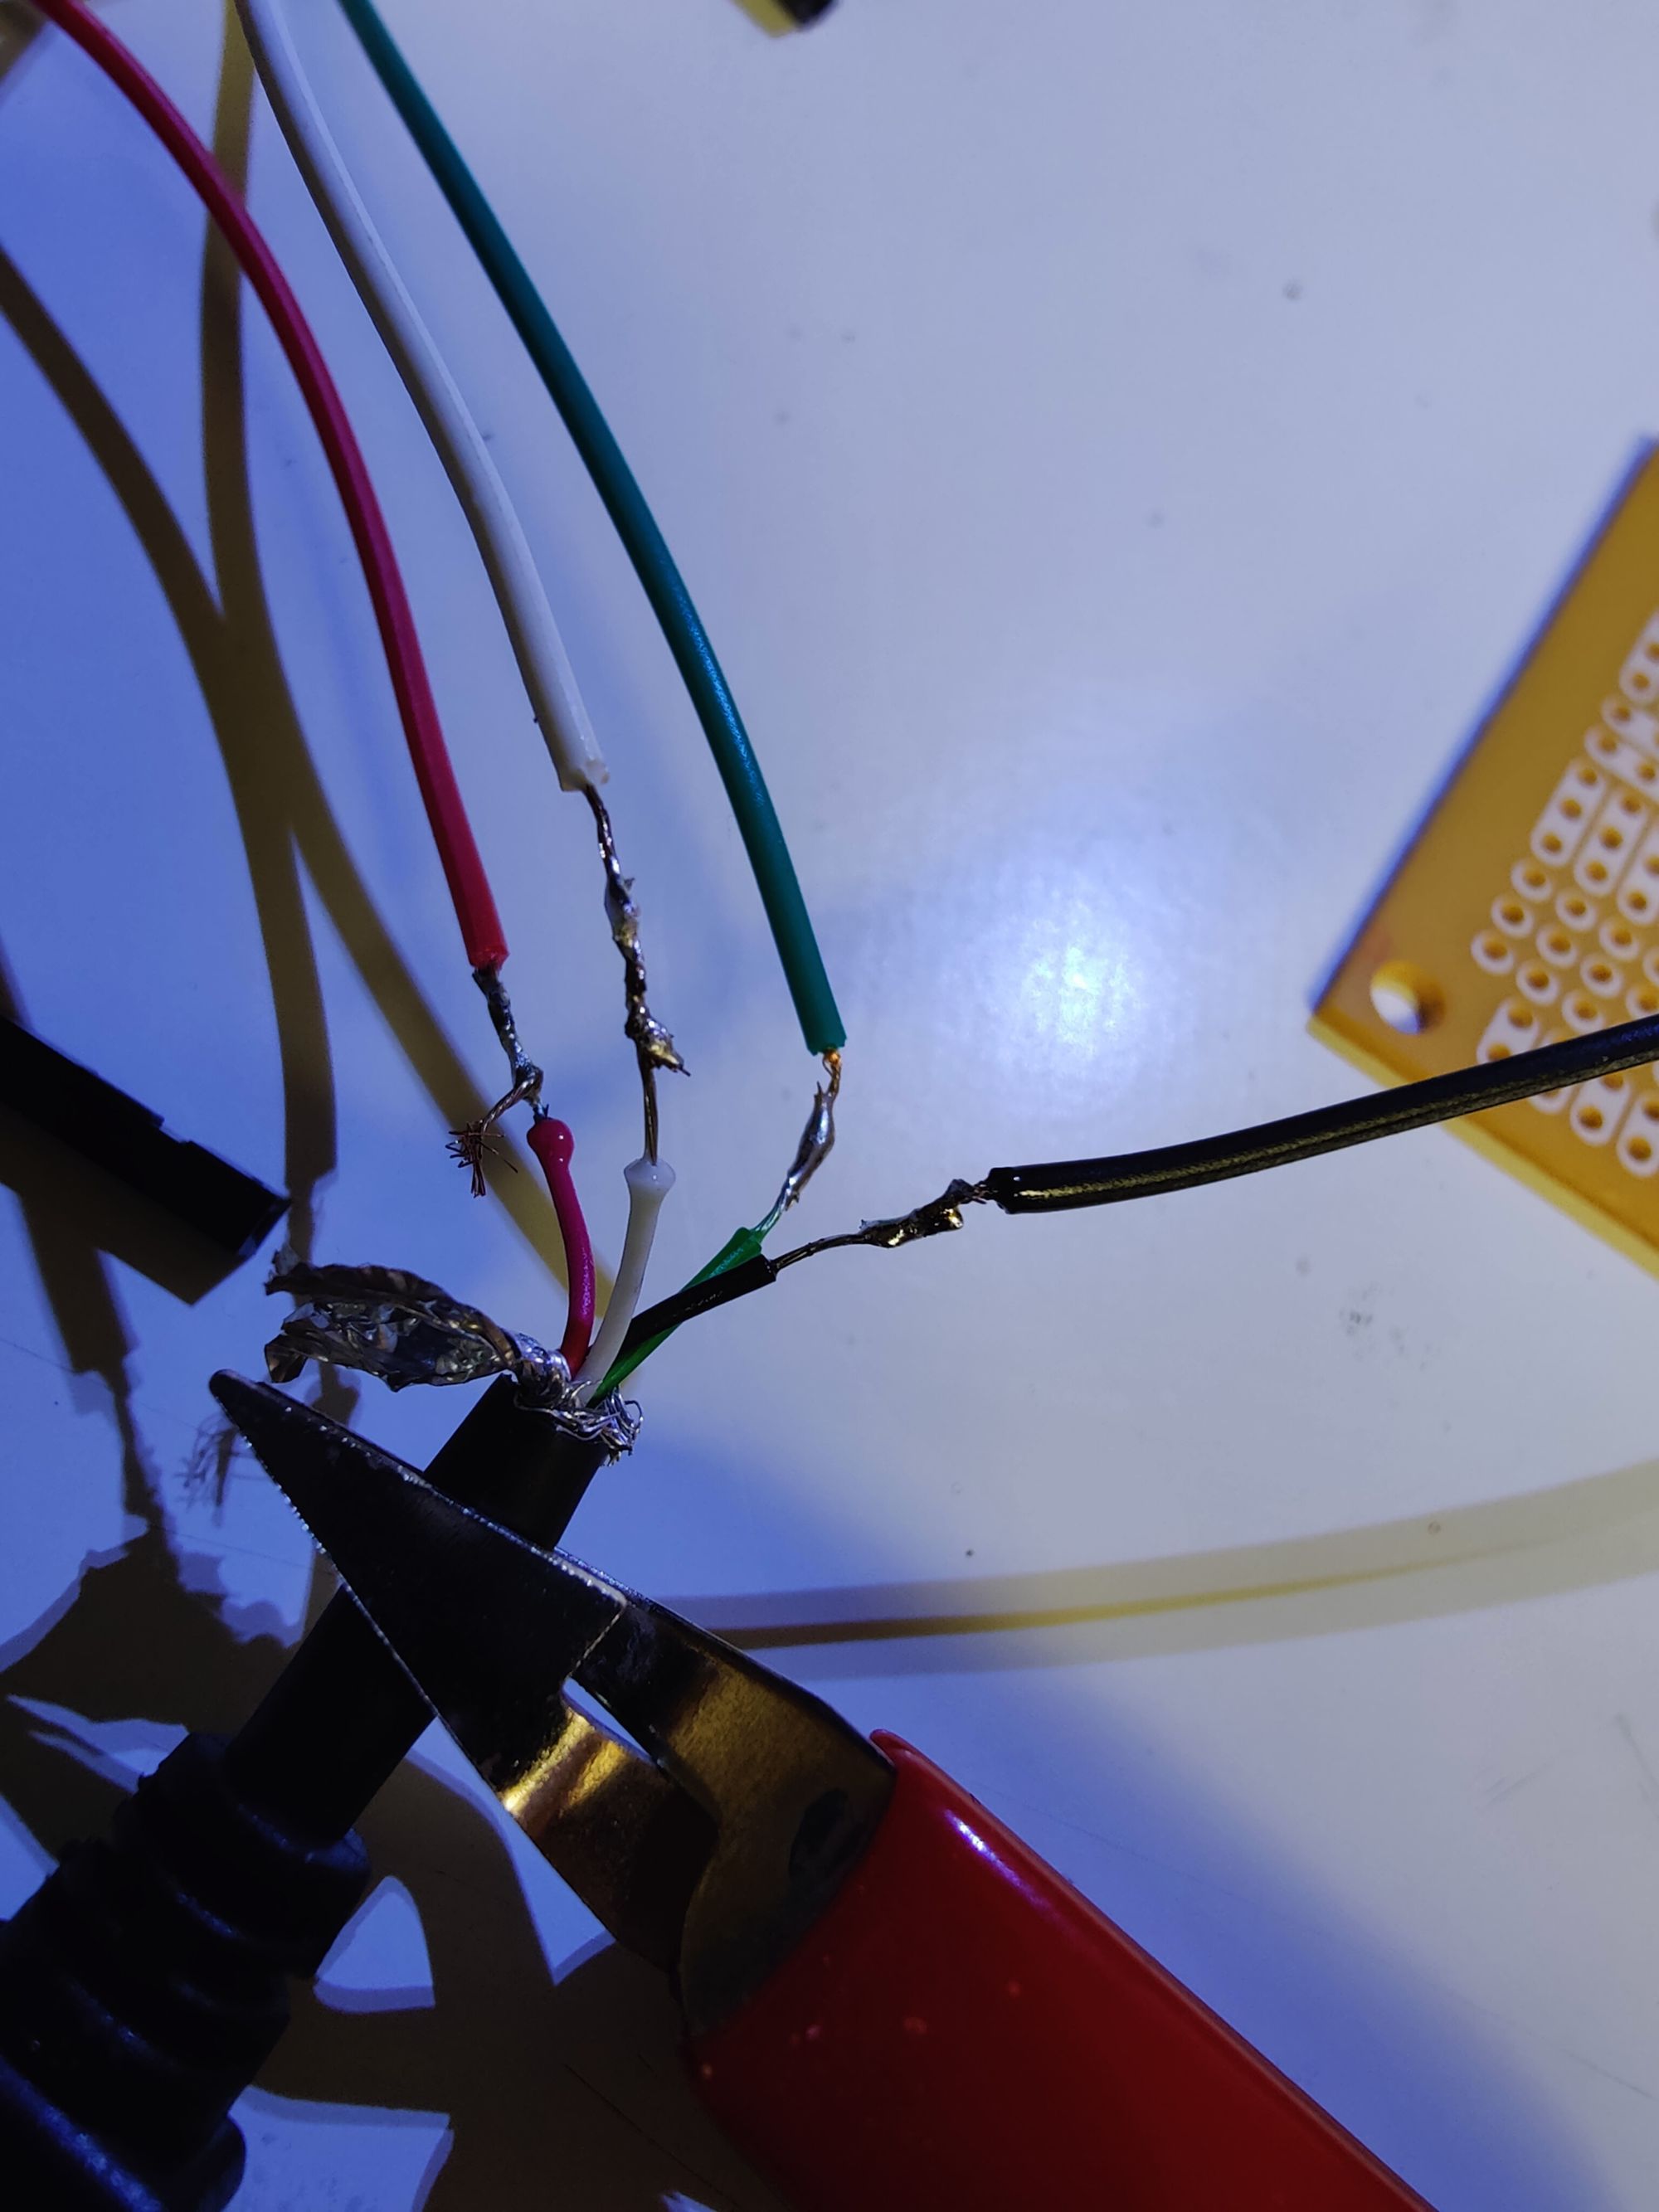
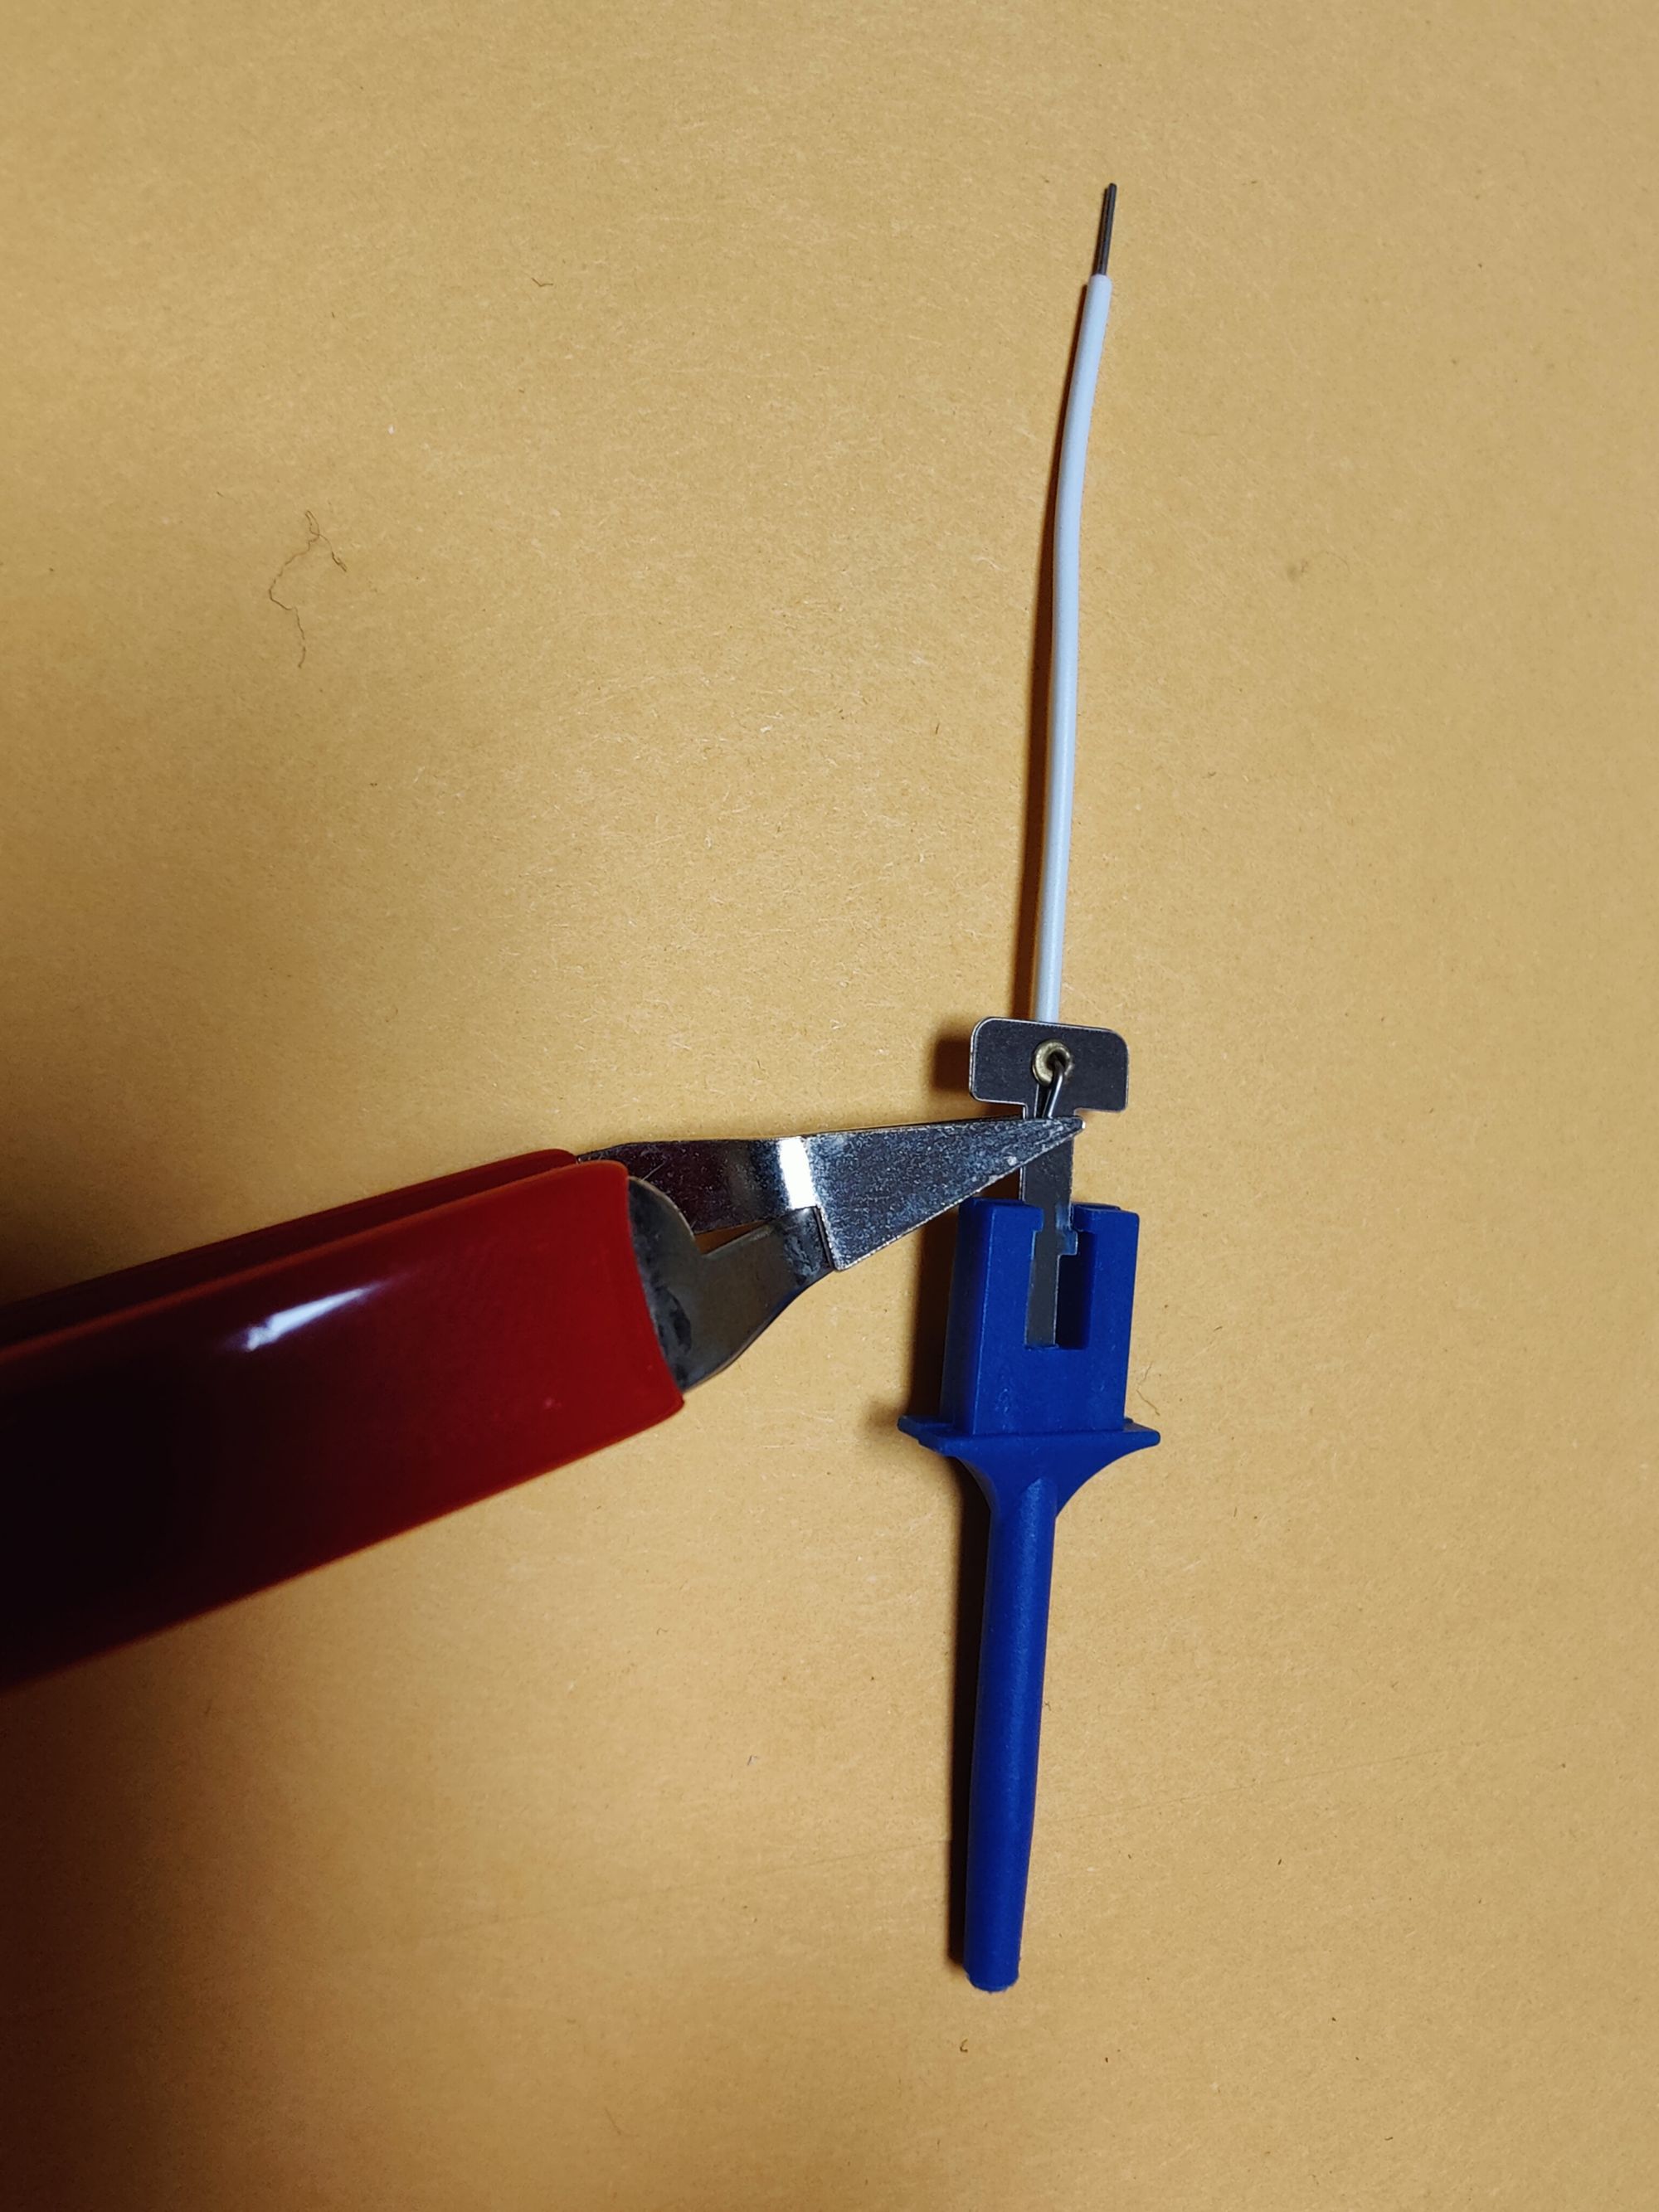
The last part was the trickiest; building connectors for the WiFi device itself. Because the connector was so small, I had to step down the wire gauge of my standard GPIO header pin to a thinner jumper wire. This worked into the finished jig, but I was impatient and decided to attach my probe clamps instead because I knew I'd likely need to swap the data pins. This choice, while more flexible, ended up getting me into trouble, so remember this bit.
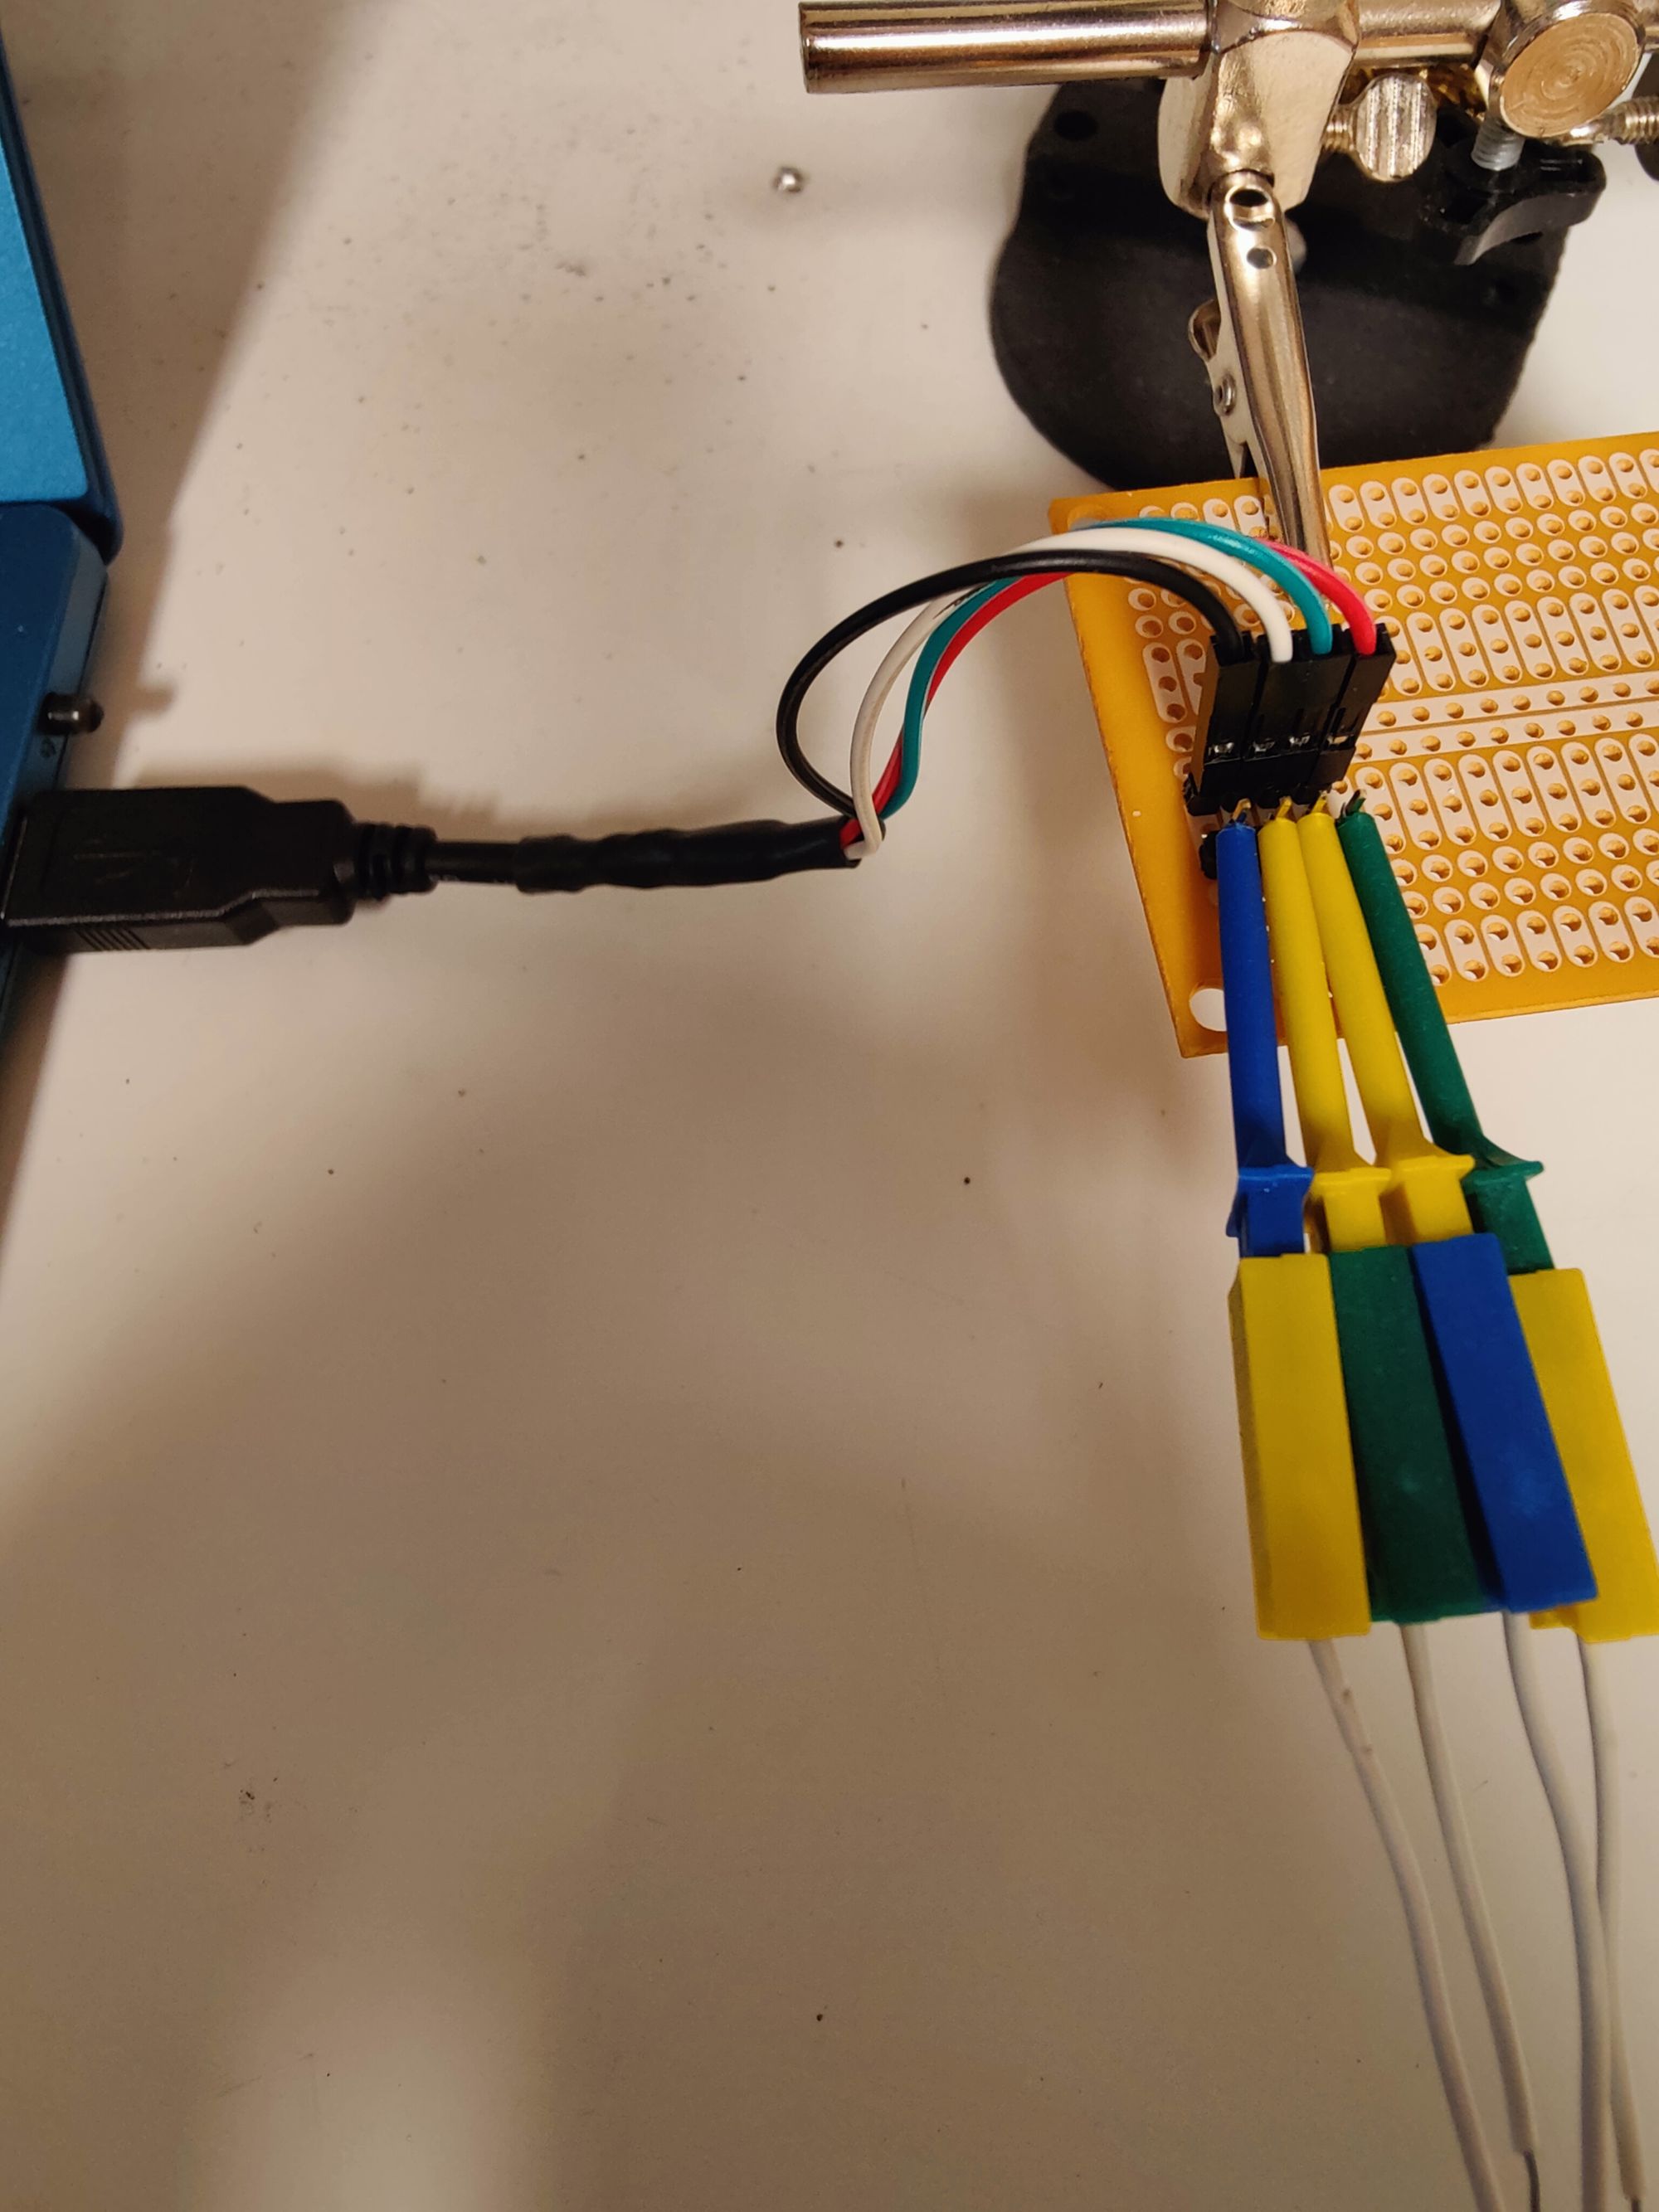
Here was my final setup before applying power. Ready to pair!
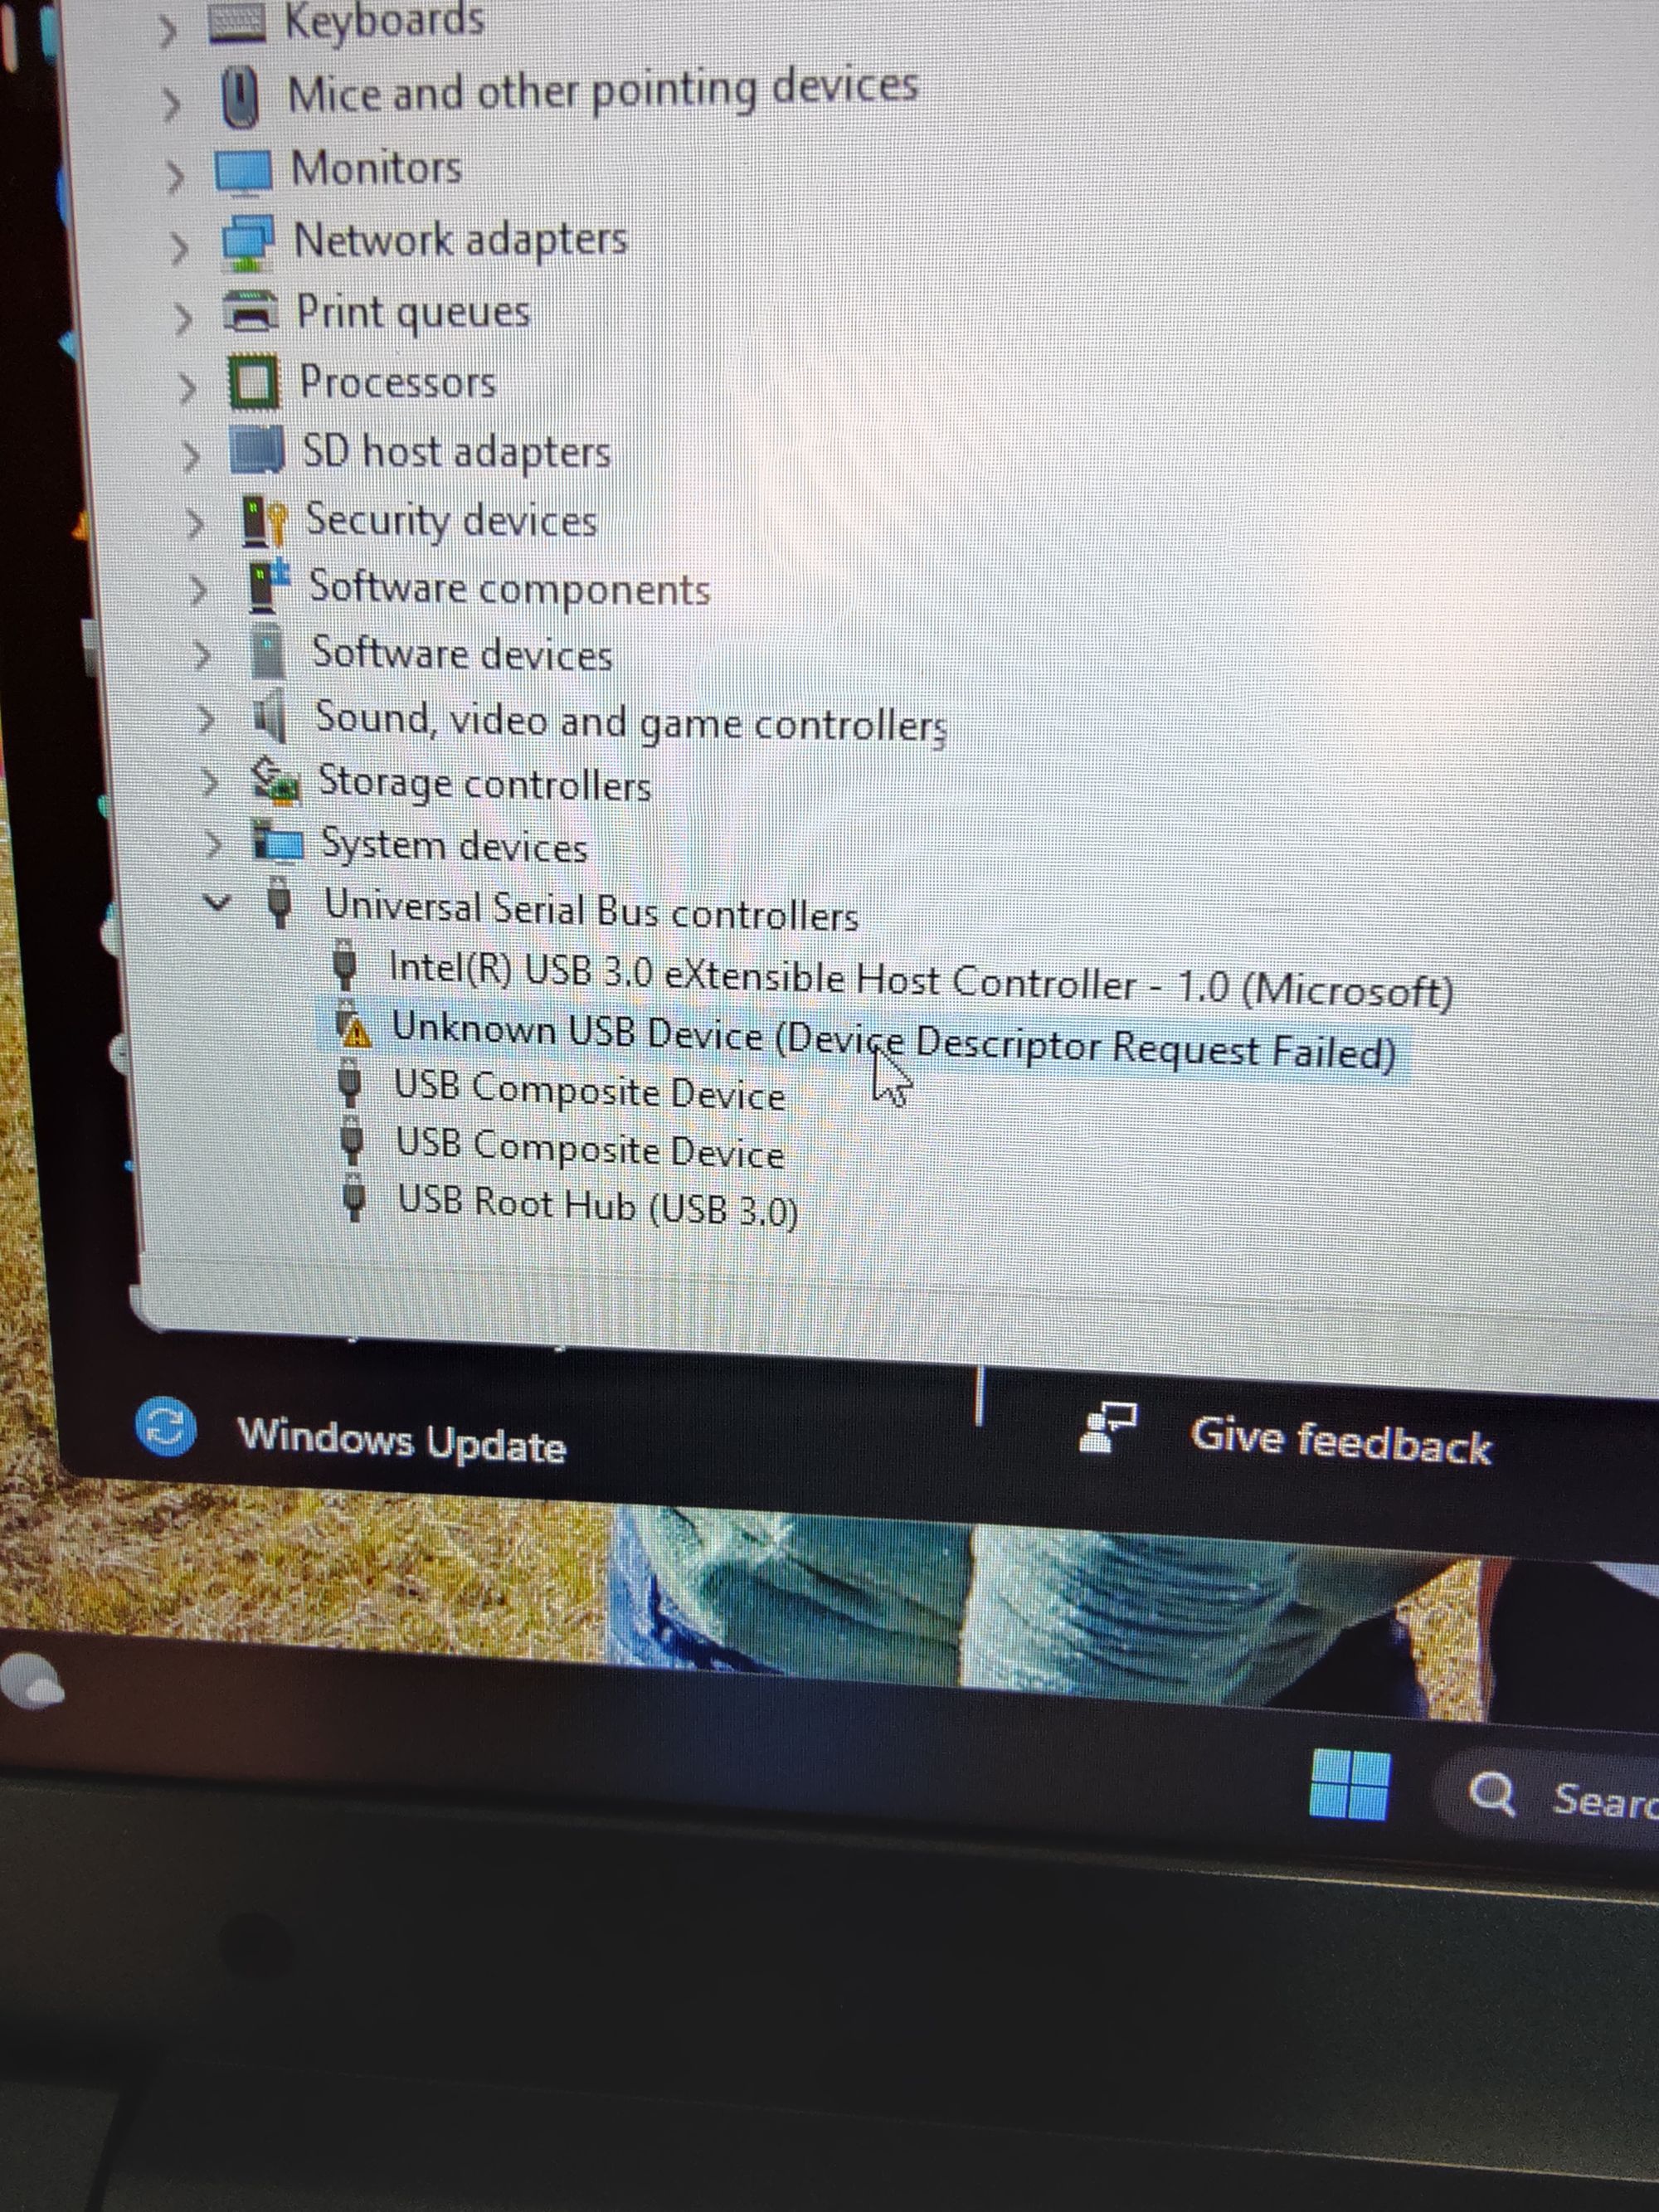
The first machine I plugged this rig into was a cheap Windows laptop, one I wouldn't mind frying in case this thing went sideways. As expected, a device popped up in device manager, but Windows didn't recognize it.
Curious if this was as fluke with Windows (and convinced my wiring wasn't going to fry the port) I switched over to my Linux laptop I use for every day. Same results using 'dmesg', shown below.
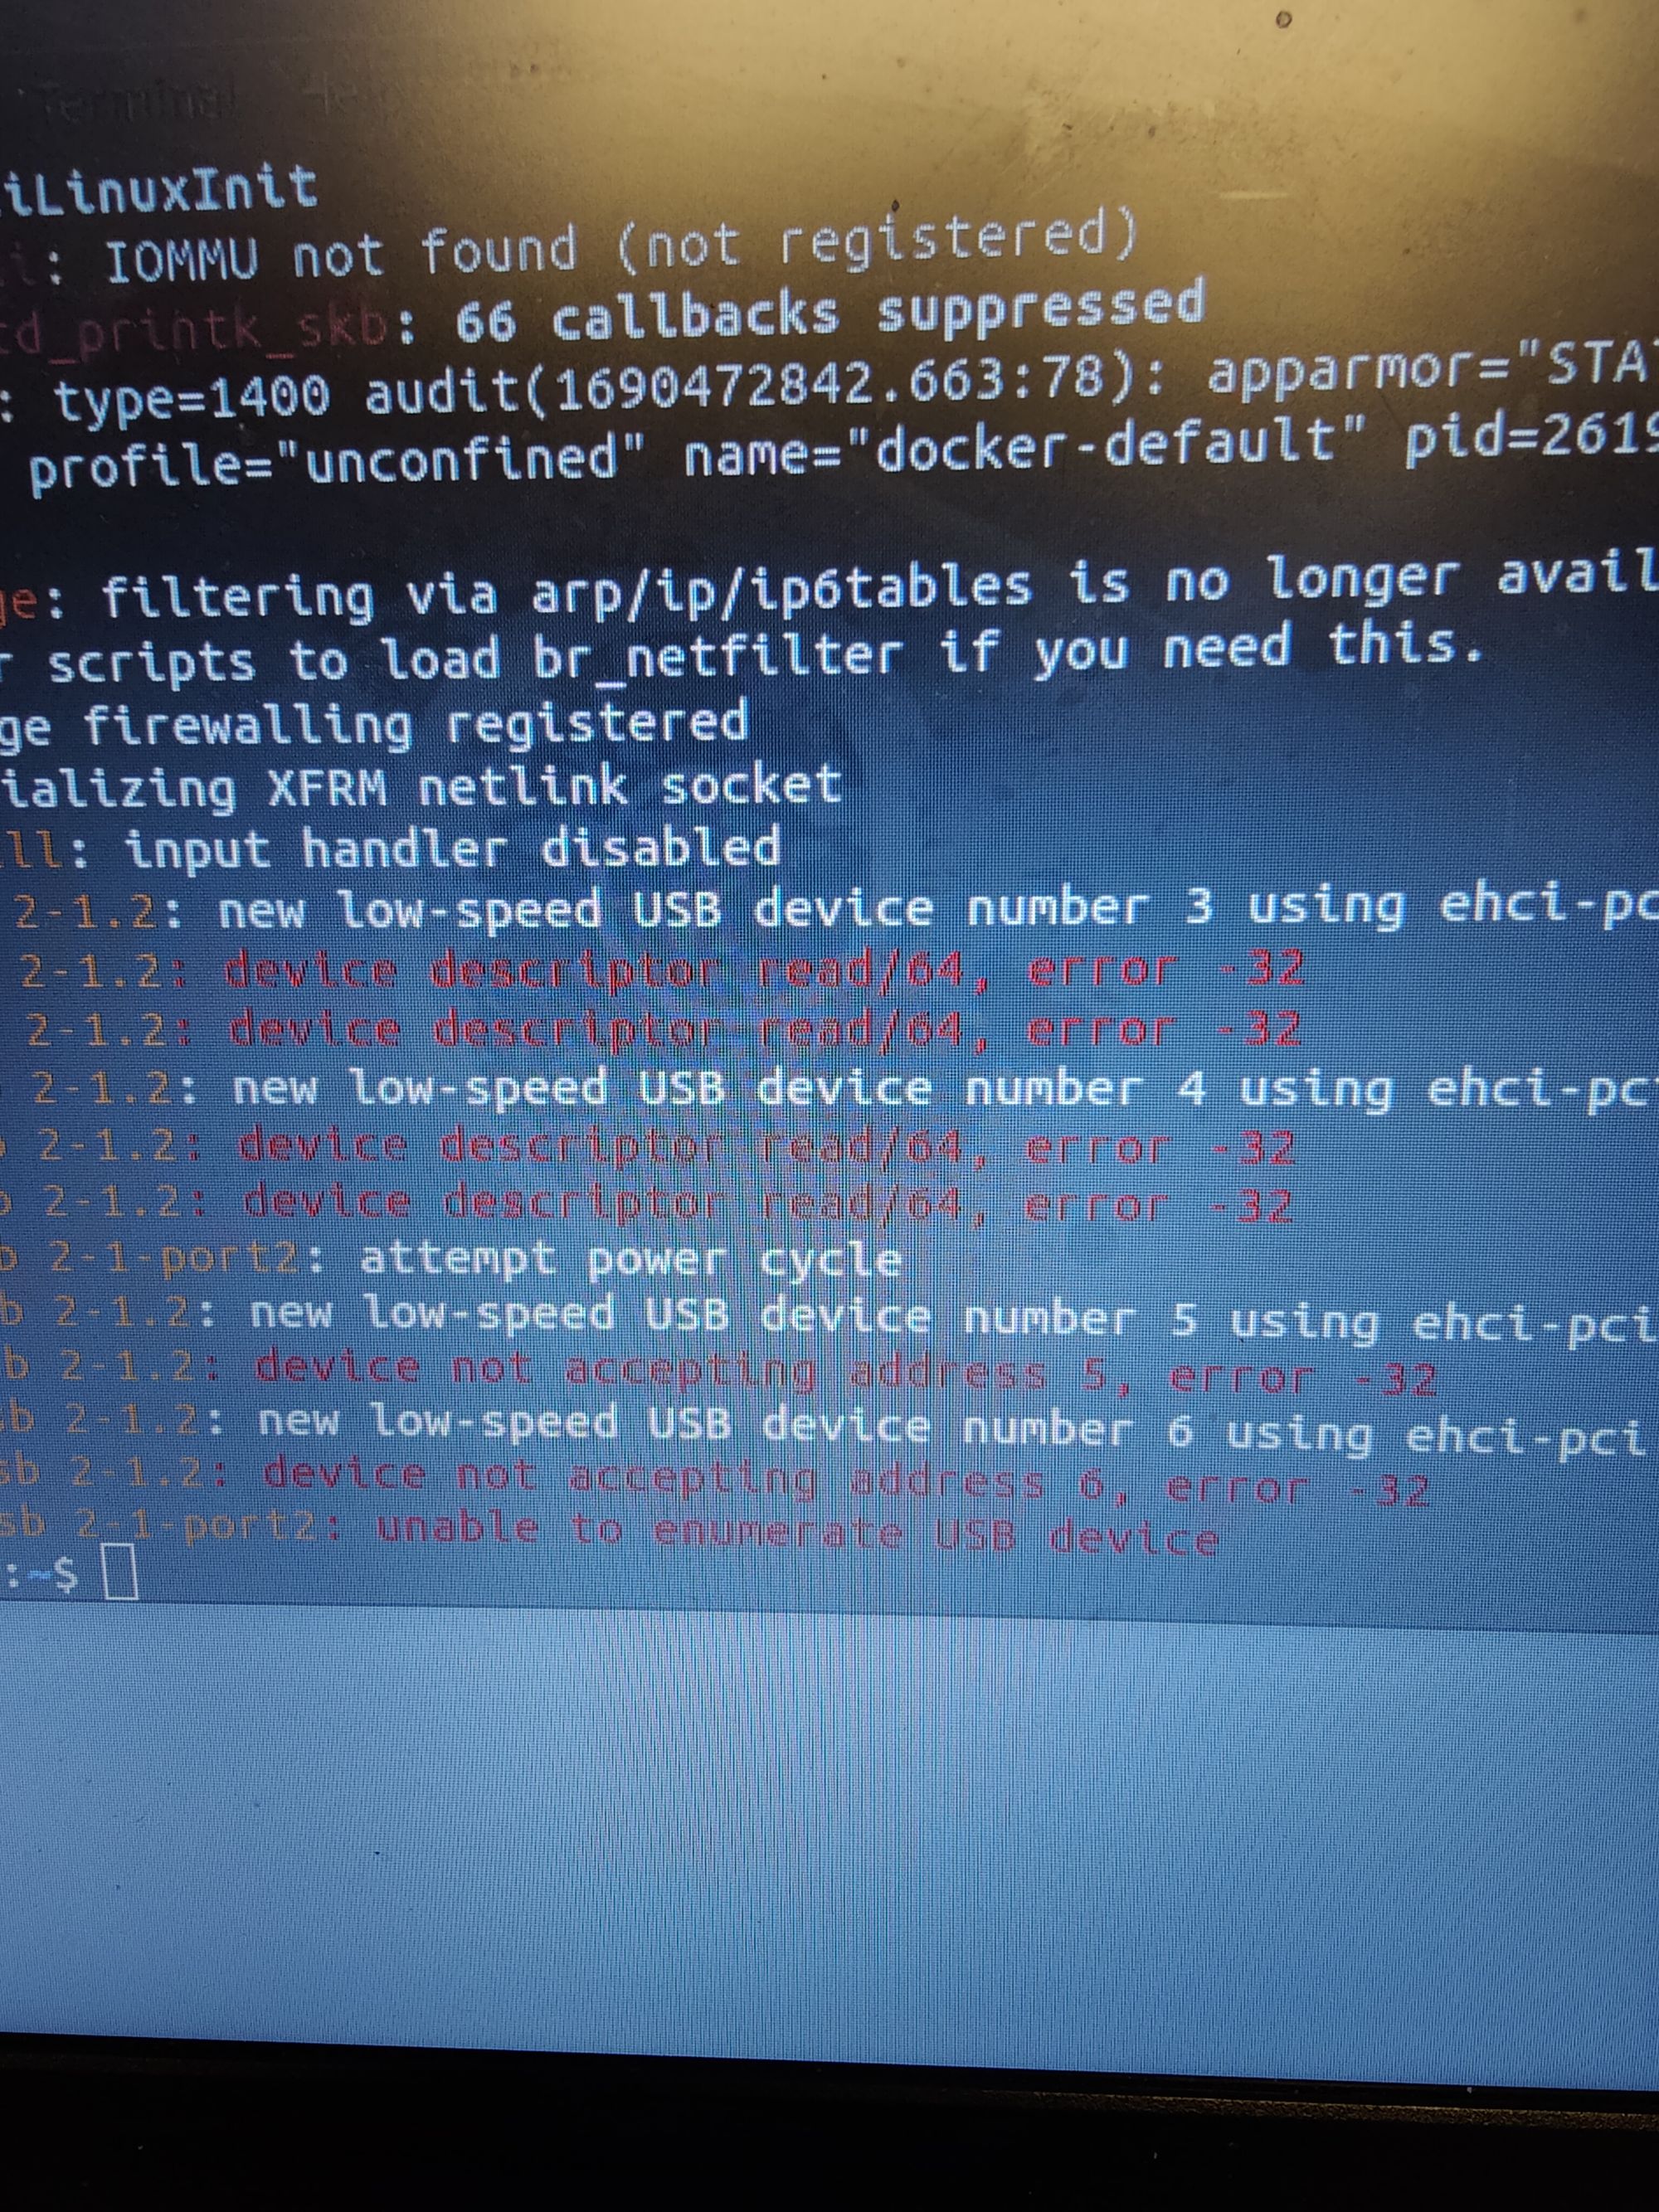
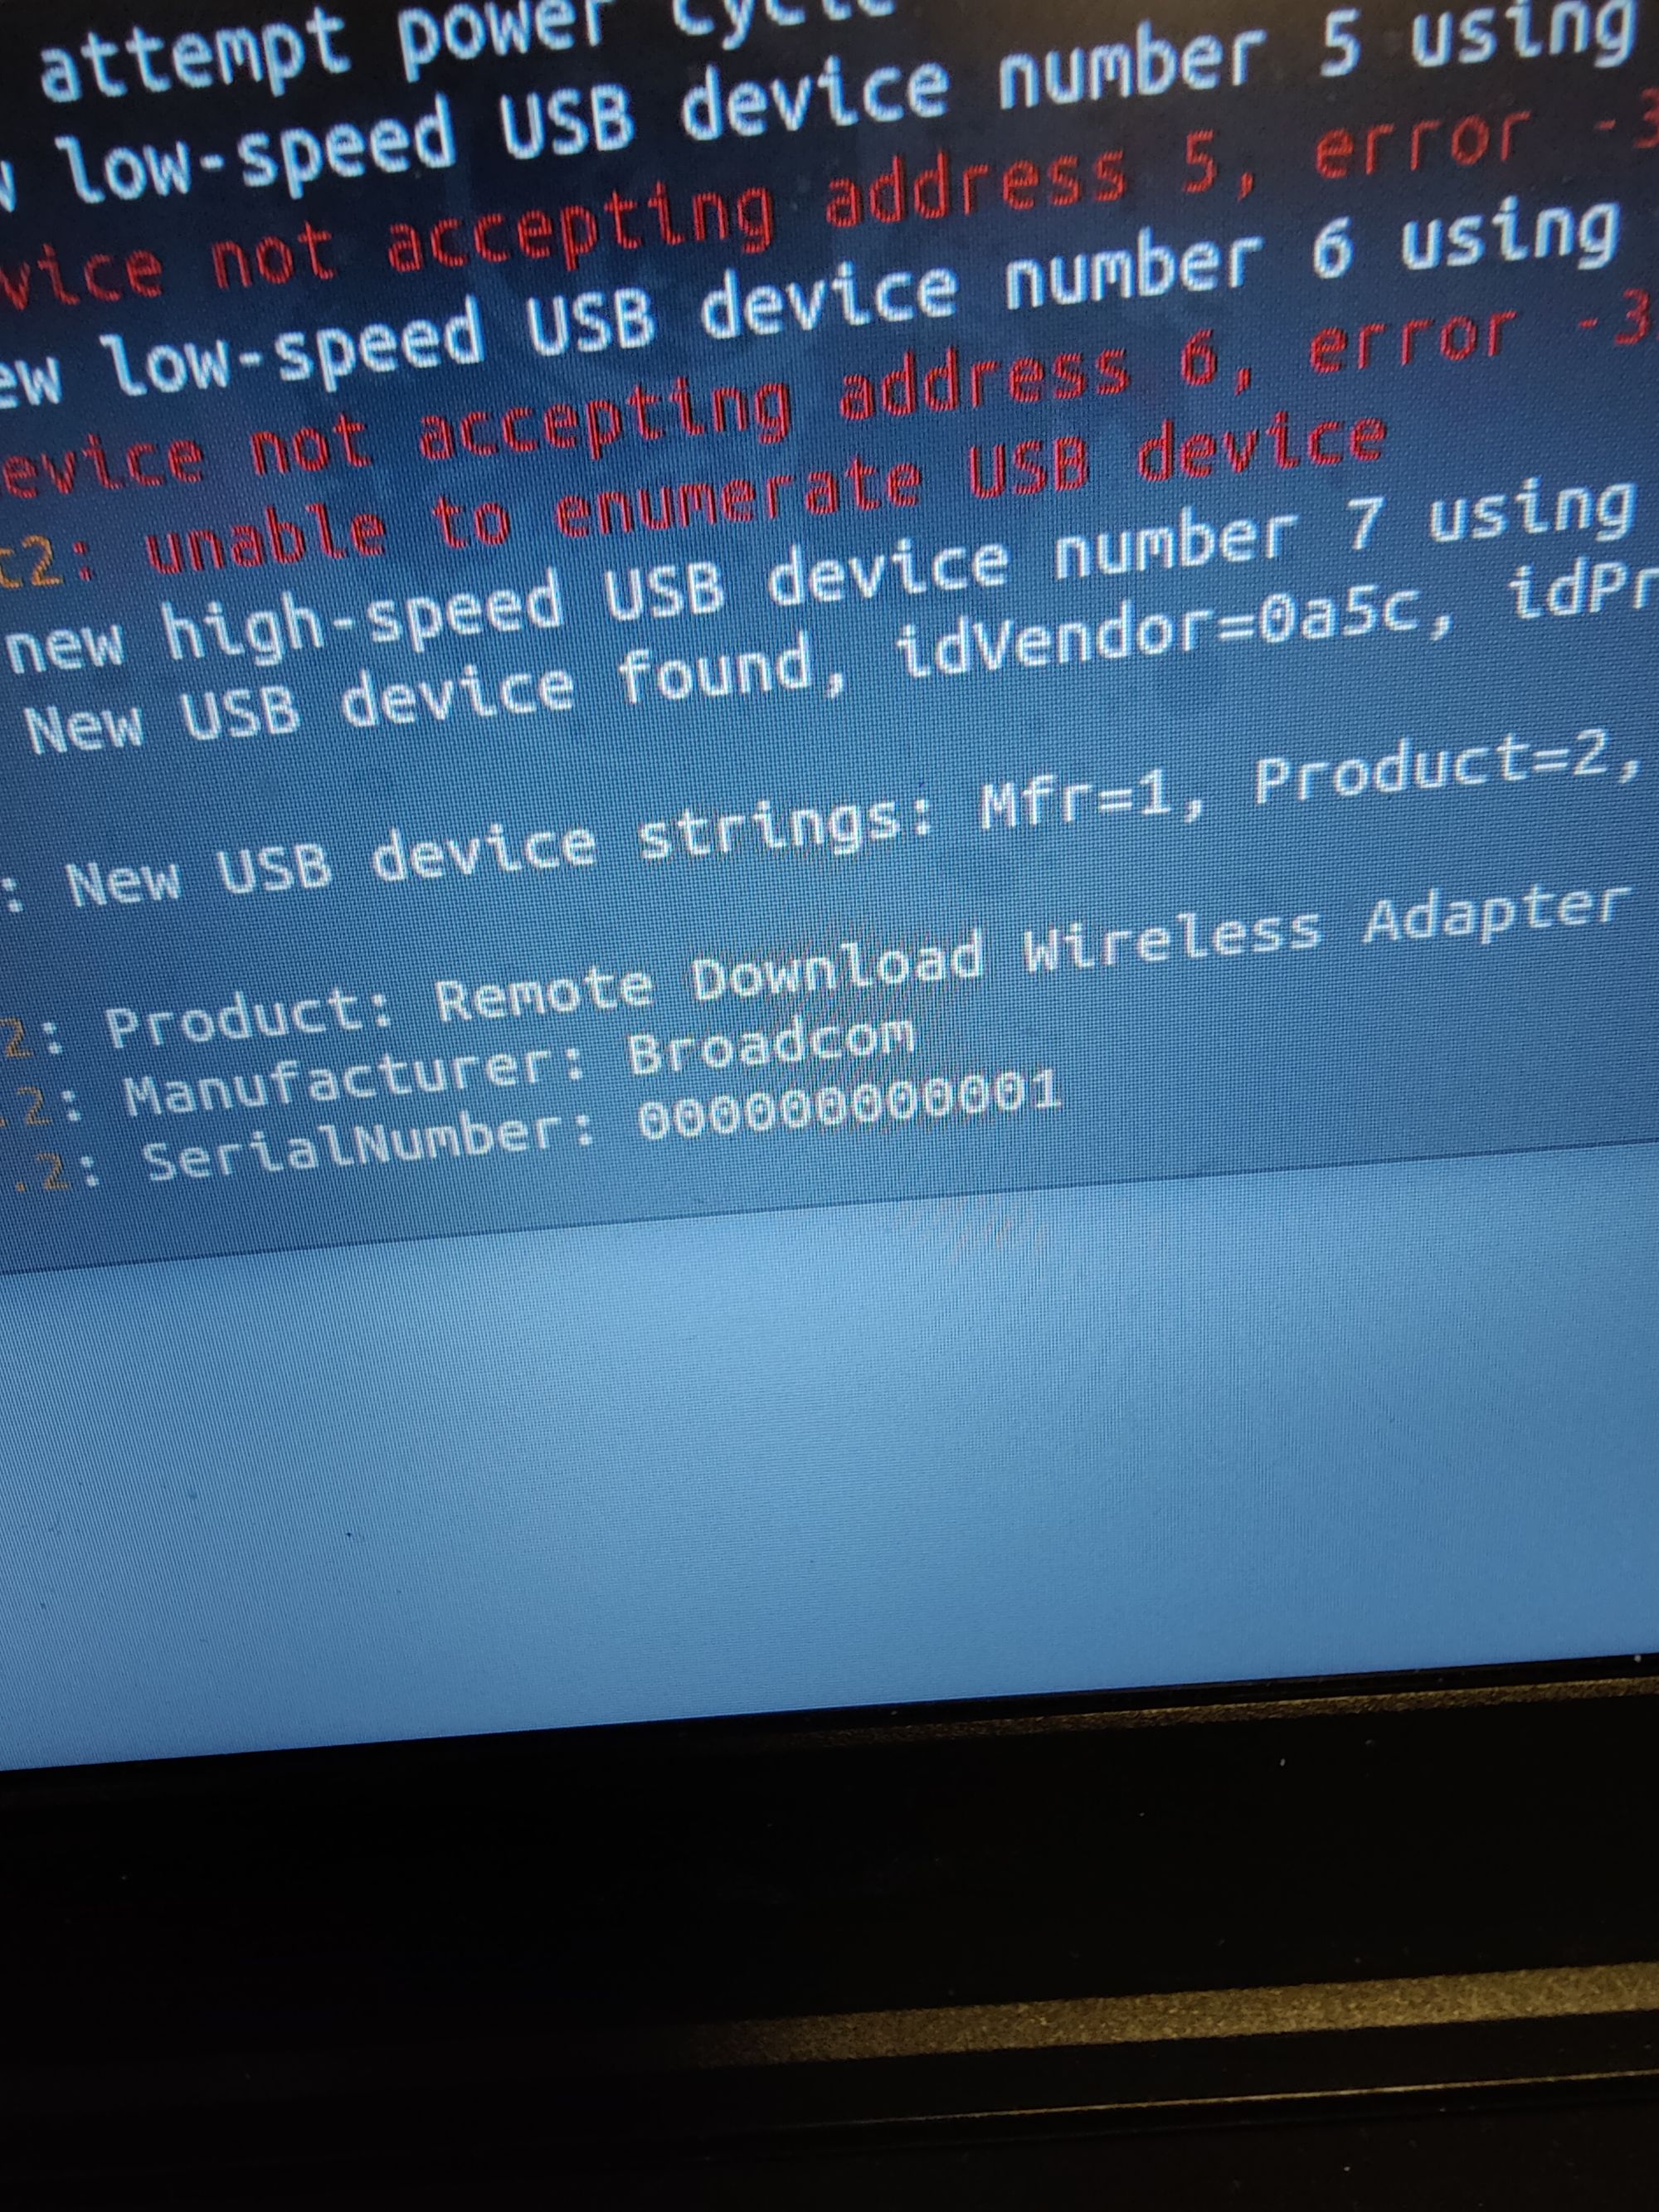
I figured the problem with this was the data pins being switched around incorrectly. Switching my probe pins around that were connected to data +/- (the middle pins), I quickly gained a good scan of the device, with the operating system identifying it as a Broadcom network adaptor. Great!
All that remained was convincing my computer to actually use the device. Knowing very little about the device I did some poking around on the FCC website, which, if you didn't know, contains a record of nearly every device with a radio sold in the United States. Every manufacturer is issued and FCCID number after their product has been reviewed and authorized to work within the frequencies it was designed. The link to this particular device is found below.
https://fccid.io/BKMFBWLU6117/User-Manual/User-Manual-1578112
This document told me little more than I already knew. It also failed to provide me a link to what I needed most...the driver.
After spending the rest of my night scouring Broadcom, Dell, and Microsoft for a suitable driver, I decided there was a chance that the data still wasn't being read correctly. I was using these loose probe clamps for my connection, so, even though I'd tested each circuit, I decided it was time to unhook my leads and solder them down, which I did the next afternoon.
The problem with rewiring things, especially sensitive equipment, is you can get easily fry the device if you crosswire...and crosswire I did. I replaced my clamps with jumper wire that would fit in my small USB connector of the WiFi adapter, but I neglected to verify my positive and ground connection. When I plugged the device in, I was greeted with this fateful message:
"over-current condition"
(...you just burned your device, stupid)
Here's what that looks like at a Linux terminal.
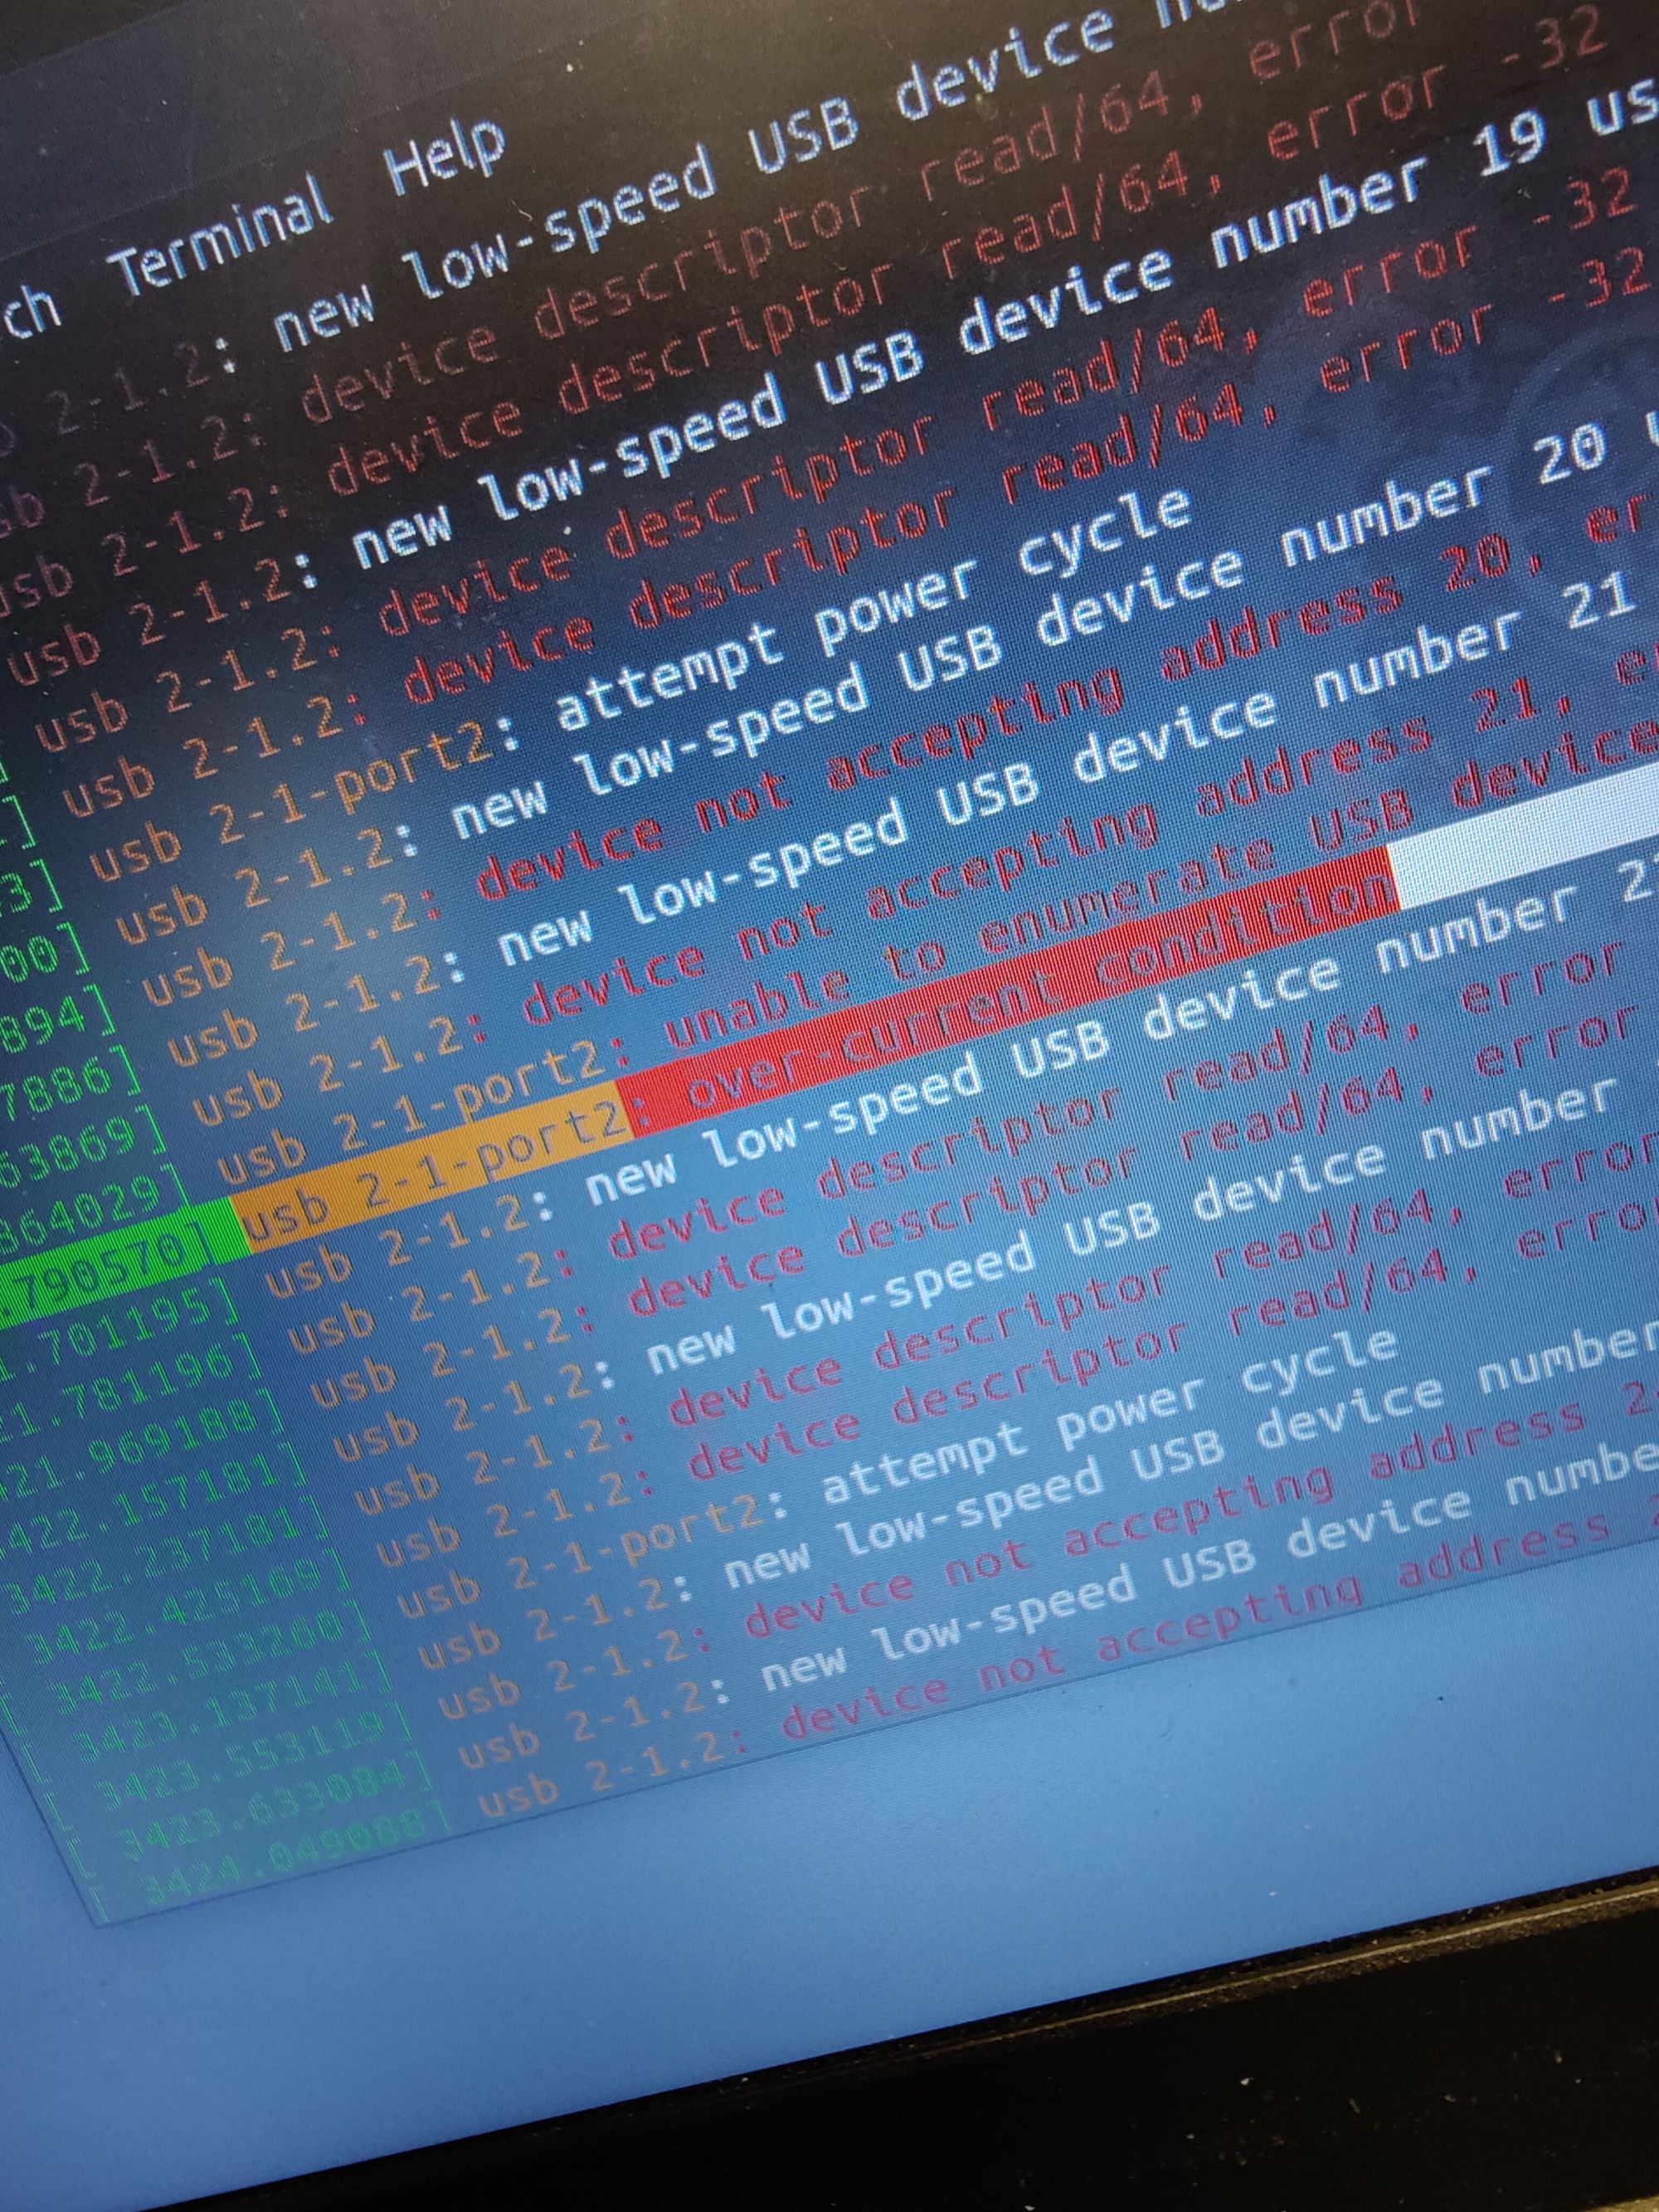
This was devistating news. Realizing what I'd done I quickly reset the pins and tested again, hoping there was some kind of voltage safety baked into the WiFi board, but it was too late. The adapter never came back with any more information other than a new device was plugged in but couldn't be defined, even after toggling the data pins. No driver in the world can fix broken hardware. I'd crashed and burned before ever being to use the device I'd just spent hours trying to rig up.
So that's the story of my most recent flop. Despite my disappointment and project setback, I gained the following from this excercise:
- Got to repurpose an old device (though it ended up killing it)
- Polished off my soldering skills
- Built a nice USB jig the next time I need to connect a similar device
- Had a great reminder of how much trouble just 5V of misplaced electicity can cause
What about you?