
DPLink wireless IP cameras my way...
Join me in my exploration of IP security cameras! This guide should expose the reader to how a network device connects to your home network as well as how to detect it. To start, I acquired a DLink wireless IP camera just to mess around. DLink documentation for this device says to install the DLink app then create/log into your customer account to set it up. While I have nothing against DLink, I didn't want to set up an account with them, so I began to look for a way around this.
Step 1 is finding this sucker on the network. Without having any details on how the system actually connected, I had to assume that DHCP is already enabled, so I began investigating my networking for new connections. Enter NMap. NMap is my go to tool for network scanning. I only needed to match the MAC address with one of the IP addresses on my network with the MAC address of the IP camera I had just connected.
$ sudo nmap sT 192.168.1.1-255
Failed to resolve given hostname/IP: sT.  Note that you can't use '/mask' AND '1-4,7,100-' style IP ranges
Nmap scan report for 192.168.1.1
Host is up (0.025s latency).
Not shown: 998 closed ports
PORT    STATE SERVICE
80/tcp  open  http
443/tcp open  https
MAC Address: XX:00:XX:00:34:A1 (Unknown)

Nmap scan report for 192.168.1.2
Host is up (0.0042s latency).
Not shown: 994 closed ports
PORT      STATE SERVICE
80/tcp    open  http
515/tcp   open  printer
631/tcp   open  ipp
5200/tcp  open  targus-getdata
9100/tcp  open  jetdirect
10001/tcp open  scp-config
MAC Address: 30:CD:A7:97:59:BA (Unknown)

Nmap scan report for 192.168.1.3
Host is up (0.0097s latency).
Not shown: 998 closed ports
PORT    STATE SERVICE
80/tcp  open  http
443/tcp open  https
MAC Address: B0:C5:54:20:EB:E1 (Unknown)
So, say we didn't have a MAC address to go off of in finding this device. We can rule out most devices if they are labeled. My Wii for example showed up on the network as a Nintindo device, so obviously not our new camera. But what about some of the protocols? JetDirect doesn't run on anything I've ever worked on other than a printing device, so it's a safe bet that is my network copier. The top device is the gateway, what everything if connecting from, so that leaves 192.168.1.3. Since I know there must be some way to connect to this device over a web browser, it makes sense that port 80 (HTTP) and port 443 (HTTPS) would be up and running. Telnet didn't reveal anything other than the ports were open, so I went straight to the browser, where I was greeted by this happy page:
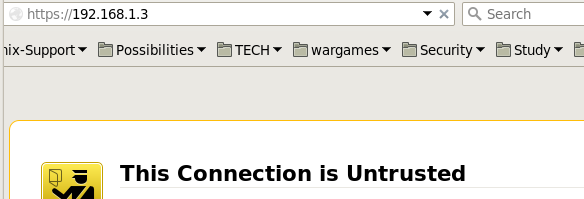
I'm just guessing, but since this SSL cert is probably authenticated by DLink when you register the device...but since I didn't go that route I get to click through the nasty-gram access the login prompt below:
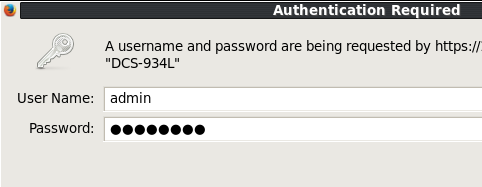
Ok, so here I was stumped...for about 5 minutes. DLink never provided a default login password, as your device is authenticated by your DLink account you are suppose to set up along with the application you install that came with the device. I had none of these, so I guessed there must be some default admin account. I googled the device, but didn't find a lot, so I simply tried 'admin' | 'password' for the login as these are common. After a couple of tries I guess the password and was in the box. Apparently this is a generic account that is designed for back-end configurations like what I was doing. Presumably this can be changed via the app, but I again couldn't test this. Anyway, this brought us to our HTTP web frontend administration page, allowing me to finally be able to configure this device.
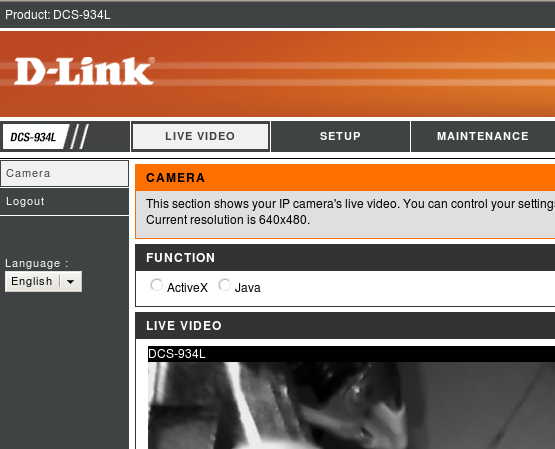
Most of the configuration is pretty basic stuff. Anyone who has configured a SOHO (small office/home office) router before should have little difficulty. Turns out this thing has a lot of features I didn't expect, but I won't get into them here. The big fun I had was just getting into it without any documentation. Maybe one day I'll set up the DLink account just to see if it works, but getting something to do what I want on my terms without third party software is always more fulfilling to me. I look forward to picking on the rest of the features contained in this neat little package.
Cheers!